
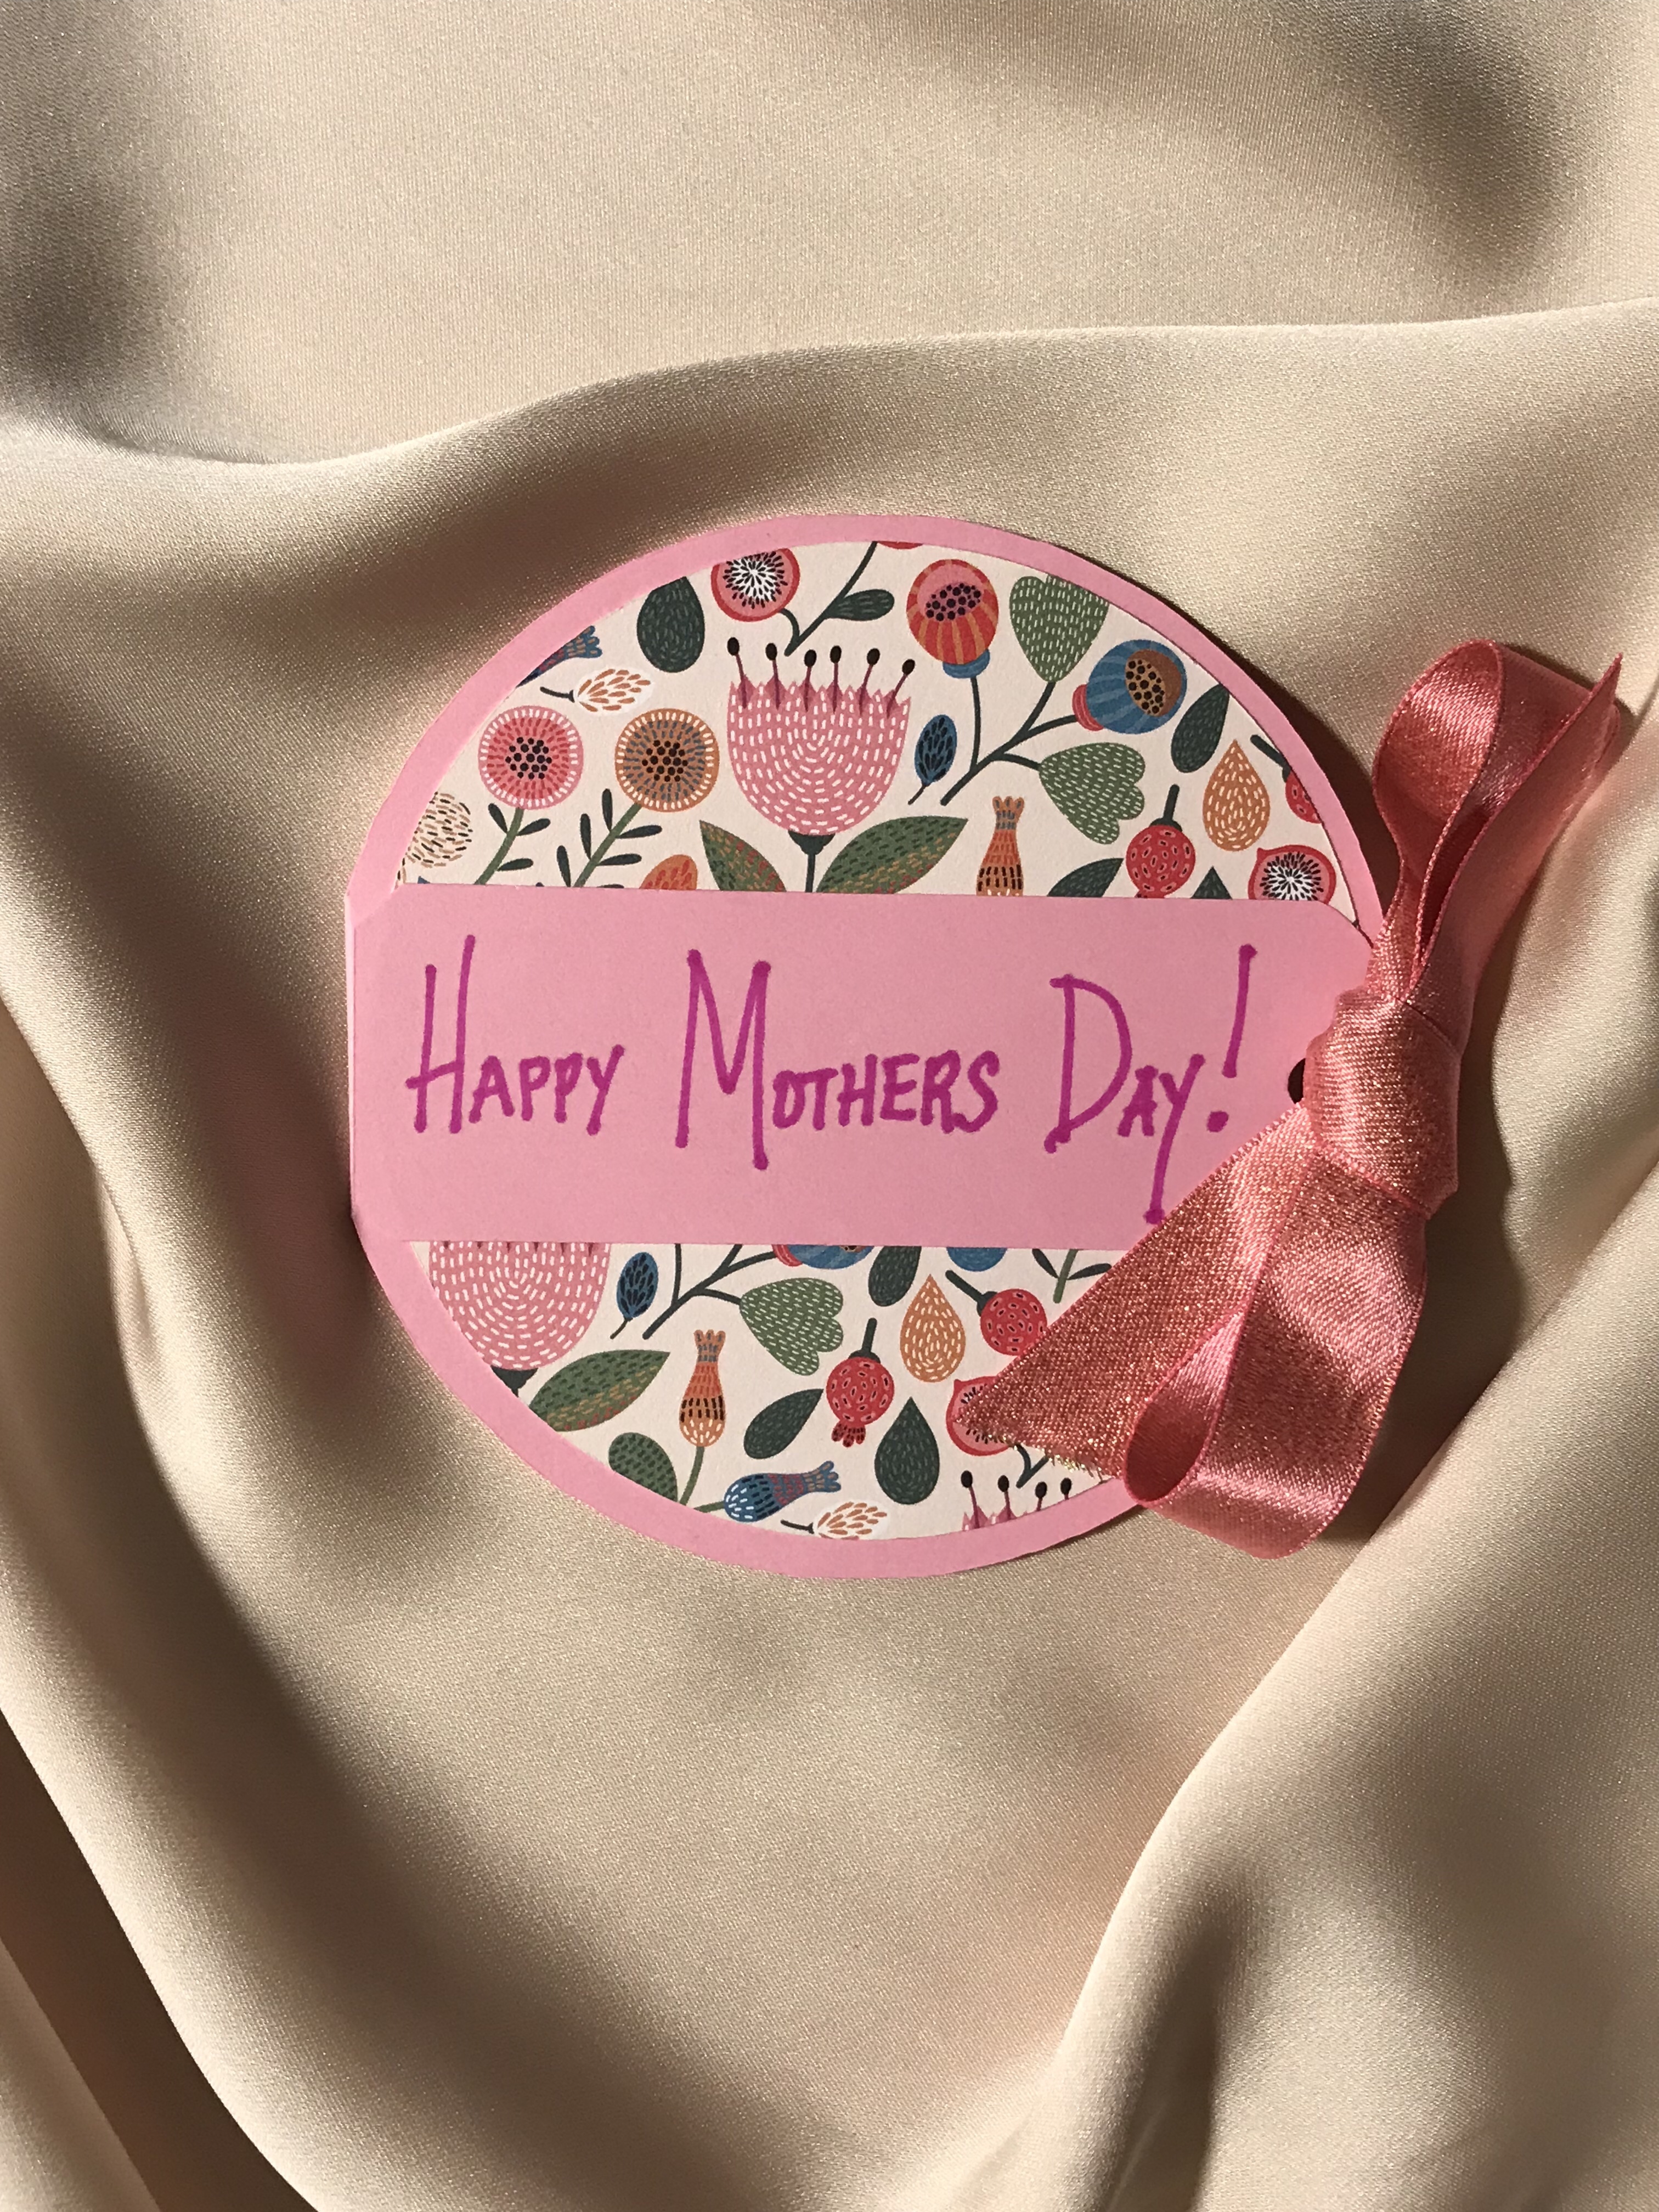
A Card Pattern for Any Holiday
Handmade AND Pretty! Using only your child’s school art supplies and a printer, or fire up that cutting machine and be done in about 30 minutes.
Card is roughly 4in x 4in.
Supplies:
Cardstock – Solid color, or your choice
Decorative paper (or adhesive vinyl, on sale this week at Joann’s for 5$ a roll) – in a coordinating color or pattern with your card
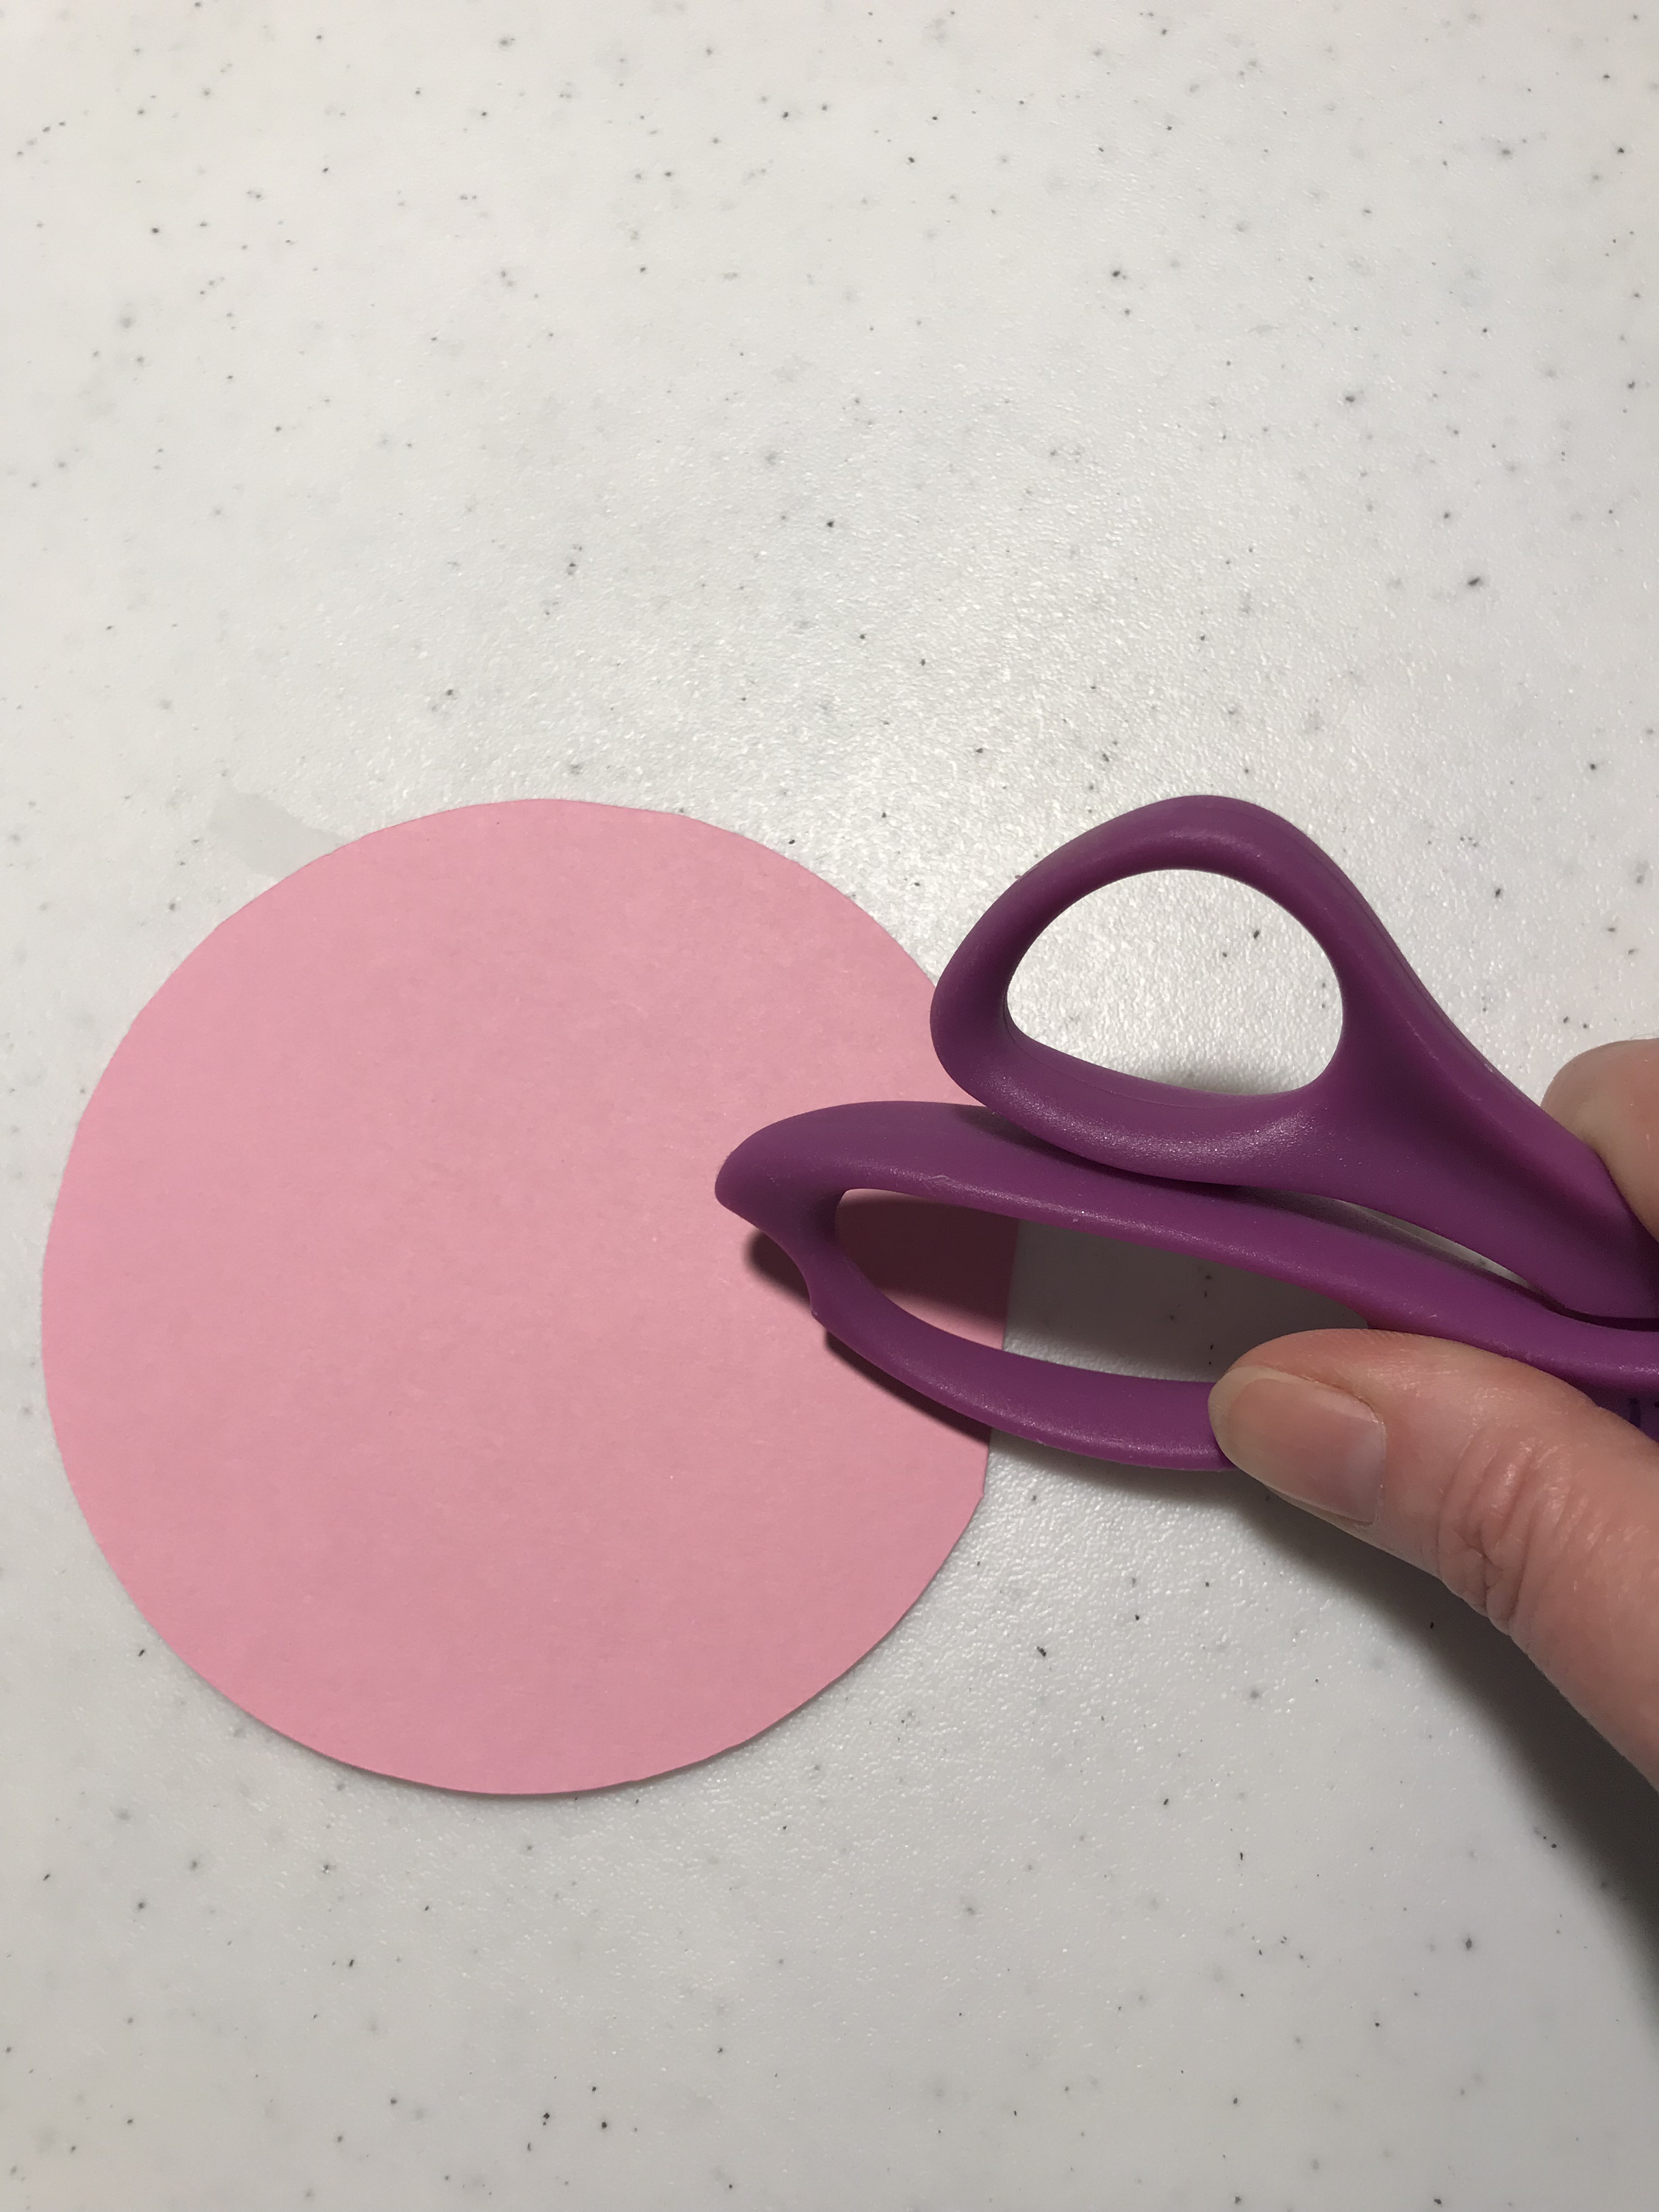
Printer and scissors, or cutting machine (like a Cricut Maker or Expression)
Glue stick (and an additional hot glue gun depending on your embellishments)
Optional decor: Ribbon, buttons, glitter, small magnet
Patterns for card cutouts – provided FREE below
Instructions:
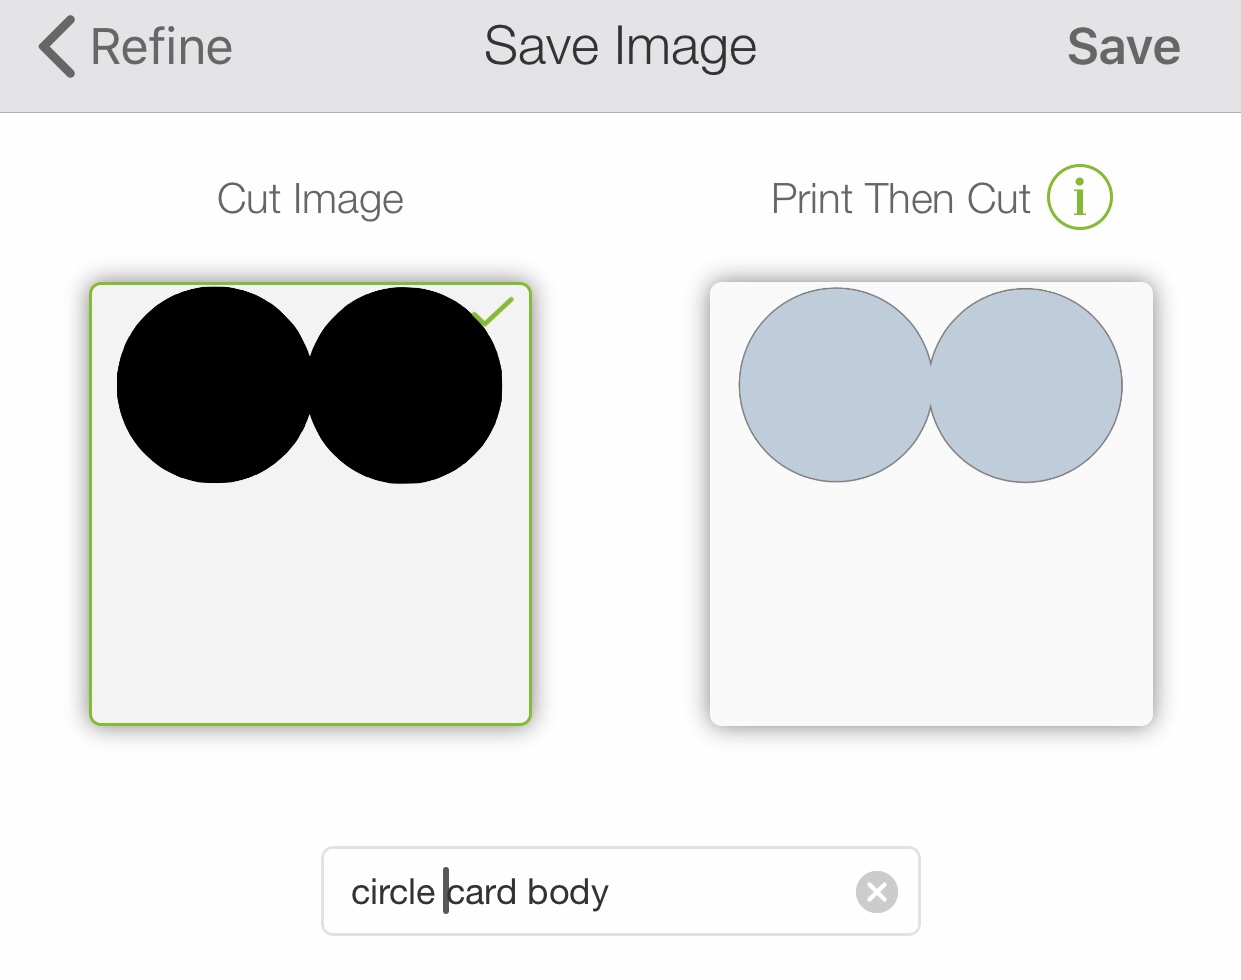
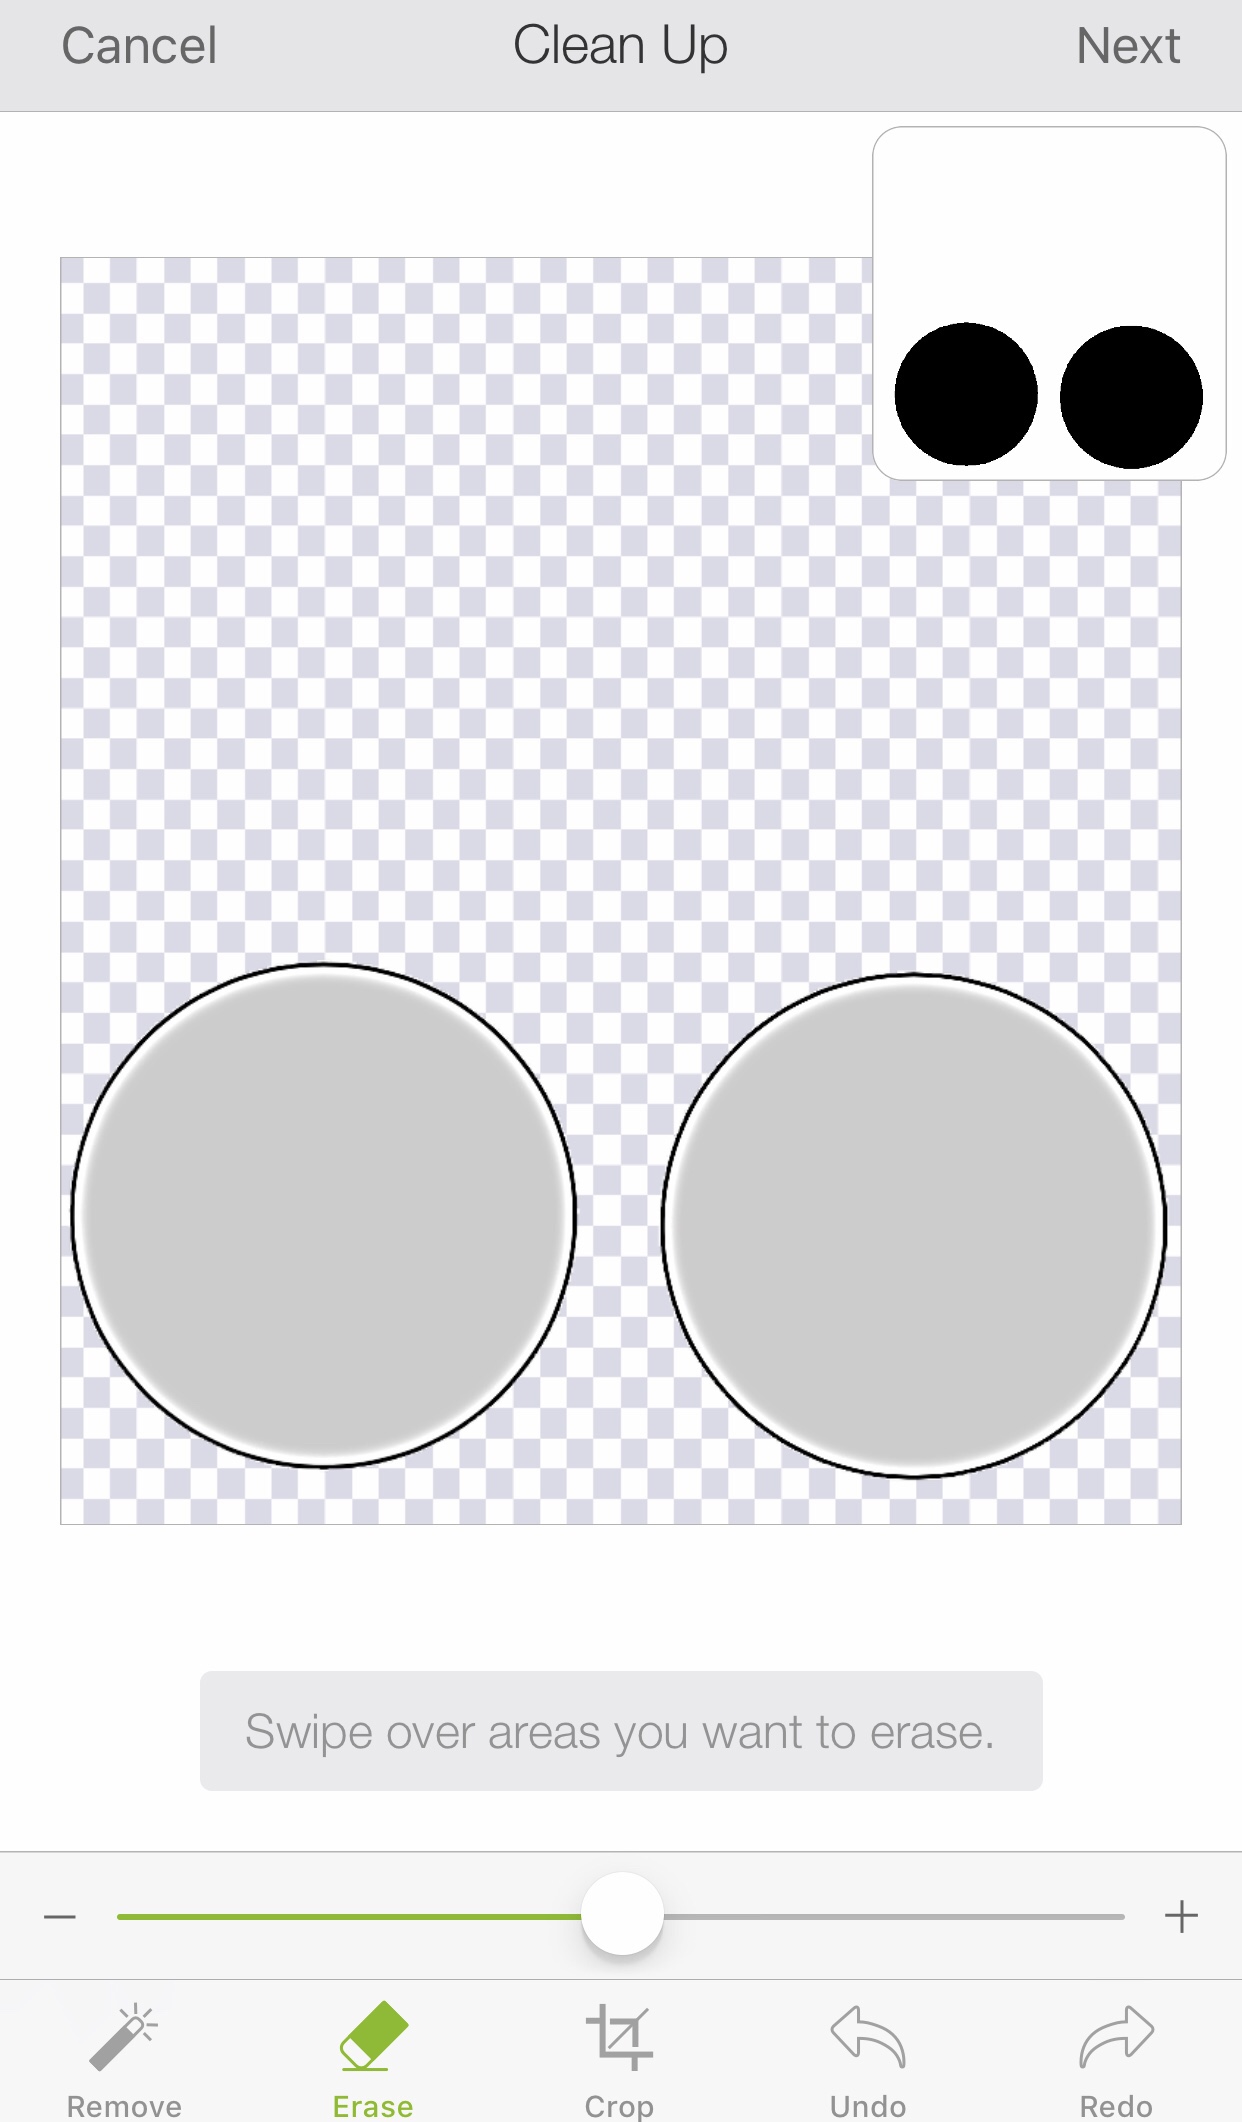
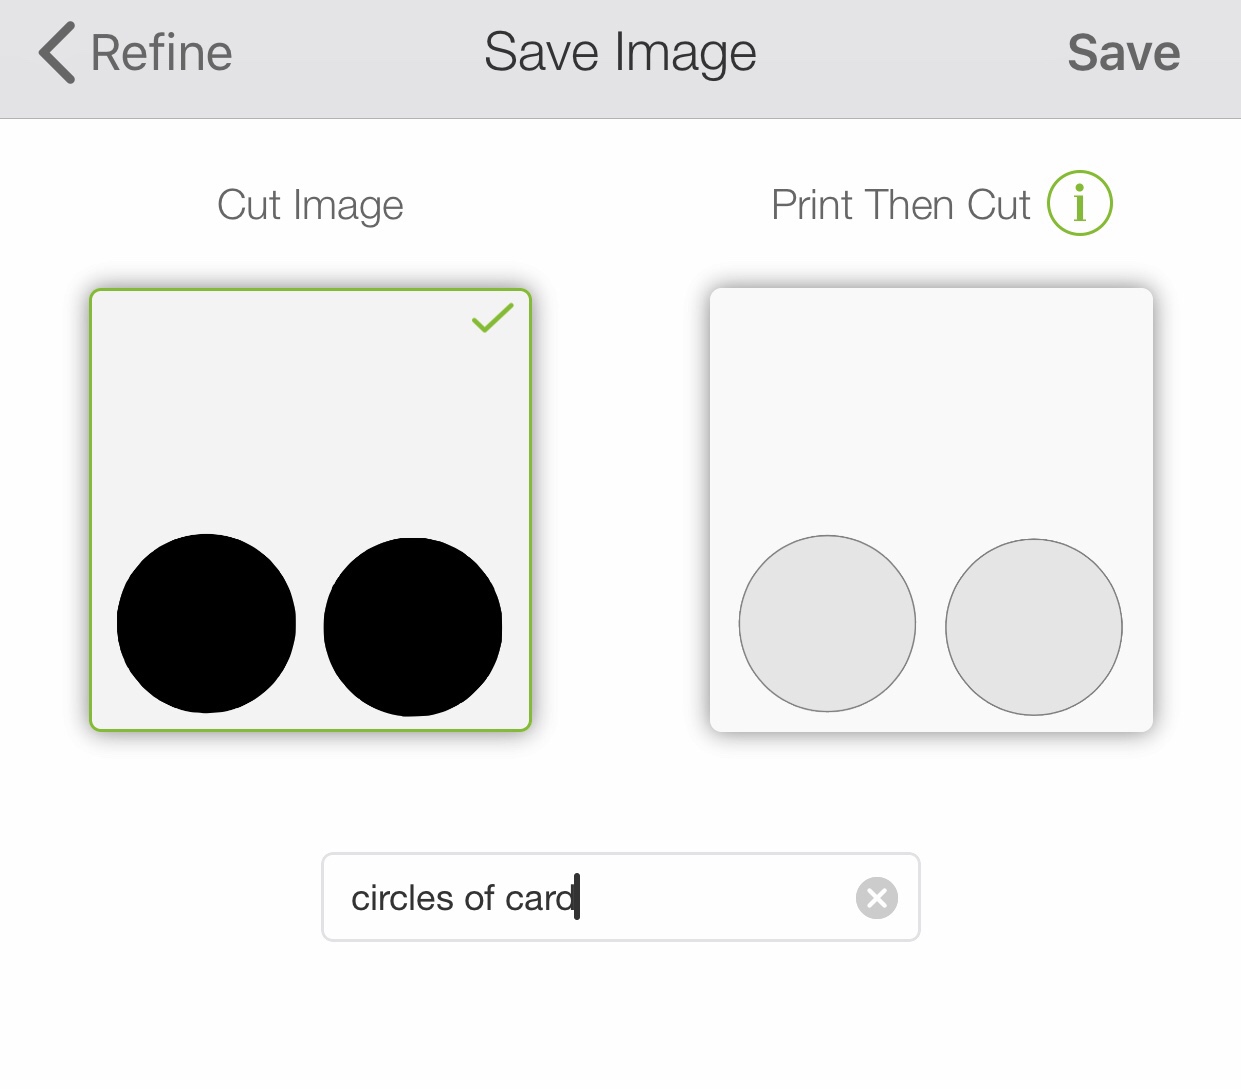
- Upload your FREE PATTERN. If you have a print/cutting machine such as the Cricut, upload as a cut image, my FREE PATTERN shown below (scroll down). Otherwise, you can still use the FREE PATTERN by printing it on your regular printer and cutting out the shapes to trace and then trace to cut on your cardstock and decorative paper. I created this pattern on my Cricut machine and have made many last- minute cards that still provide a nice “handmade with care” feeling to that special recipient.
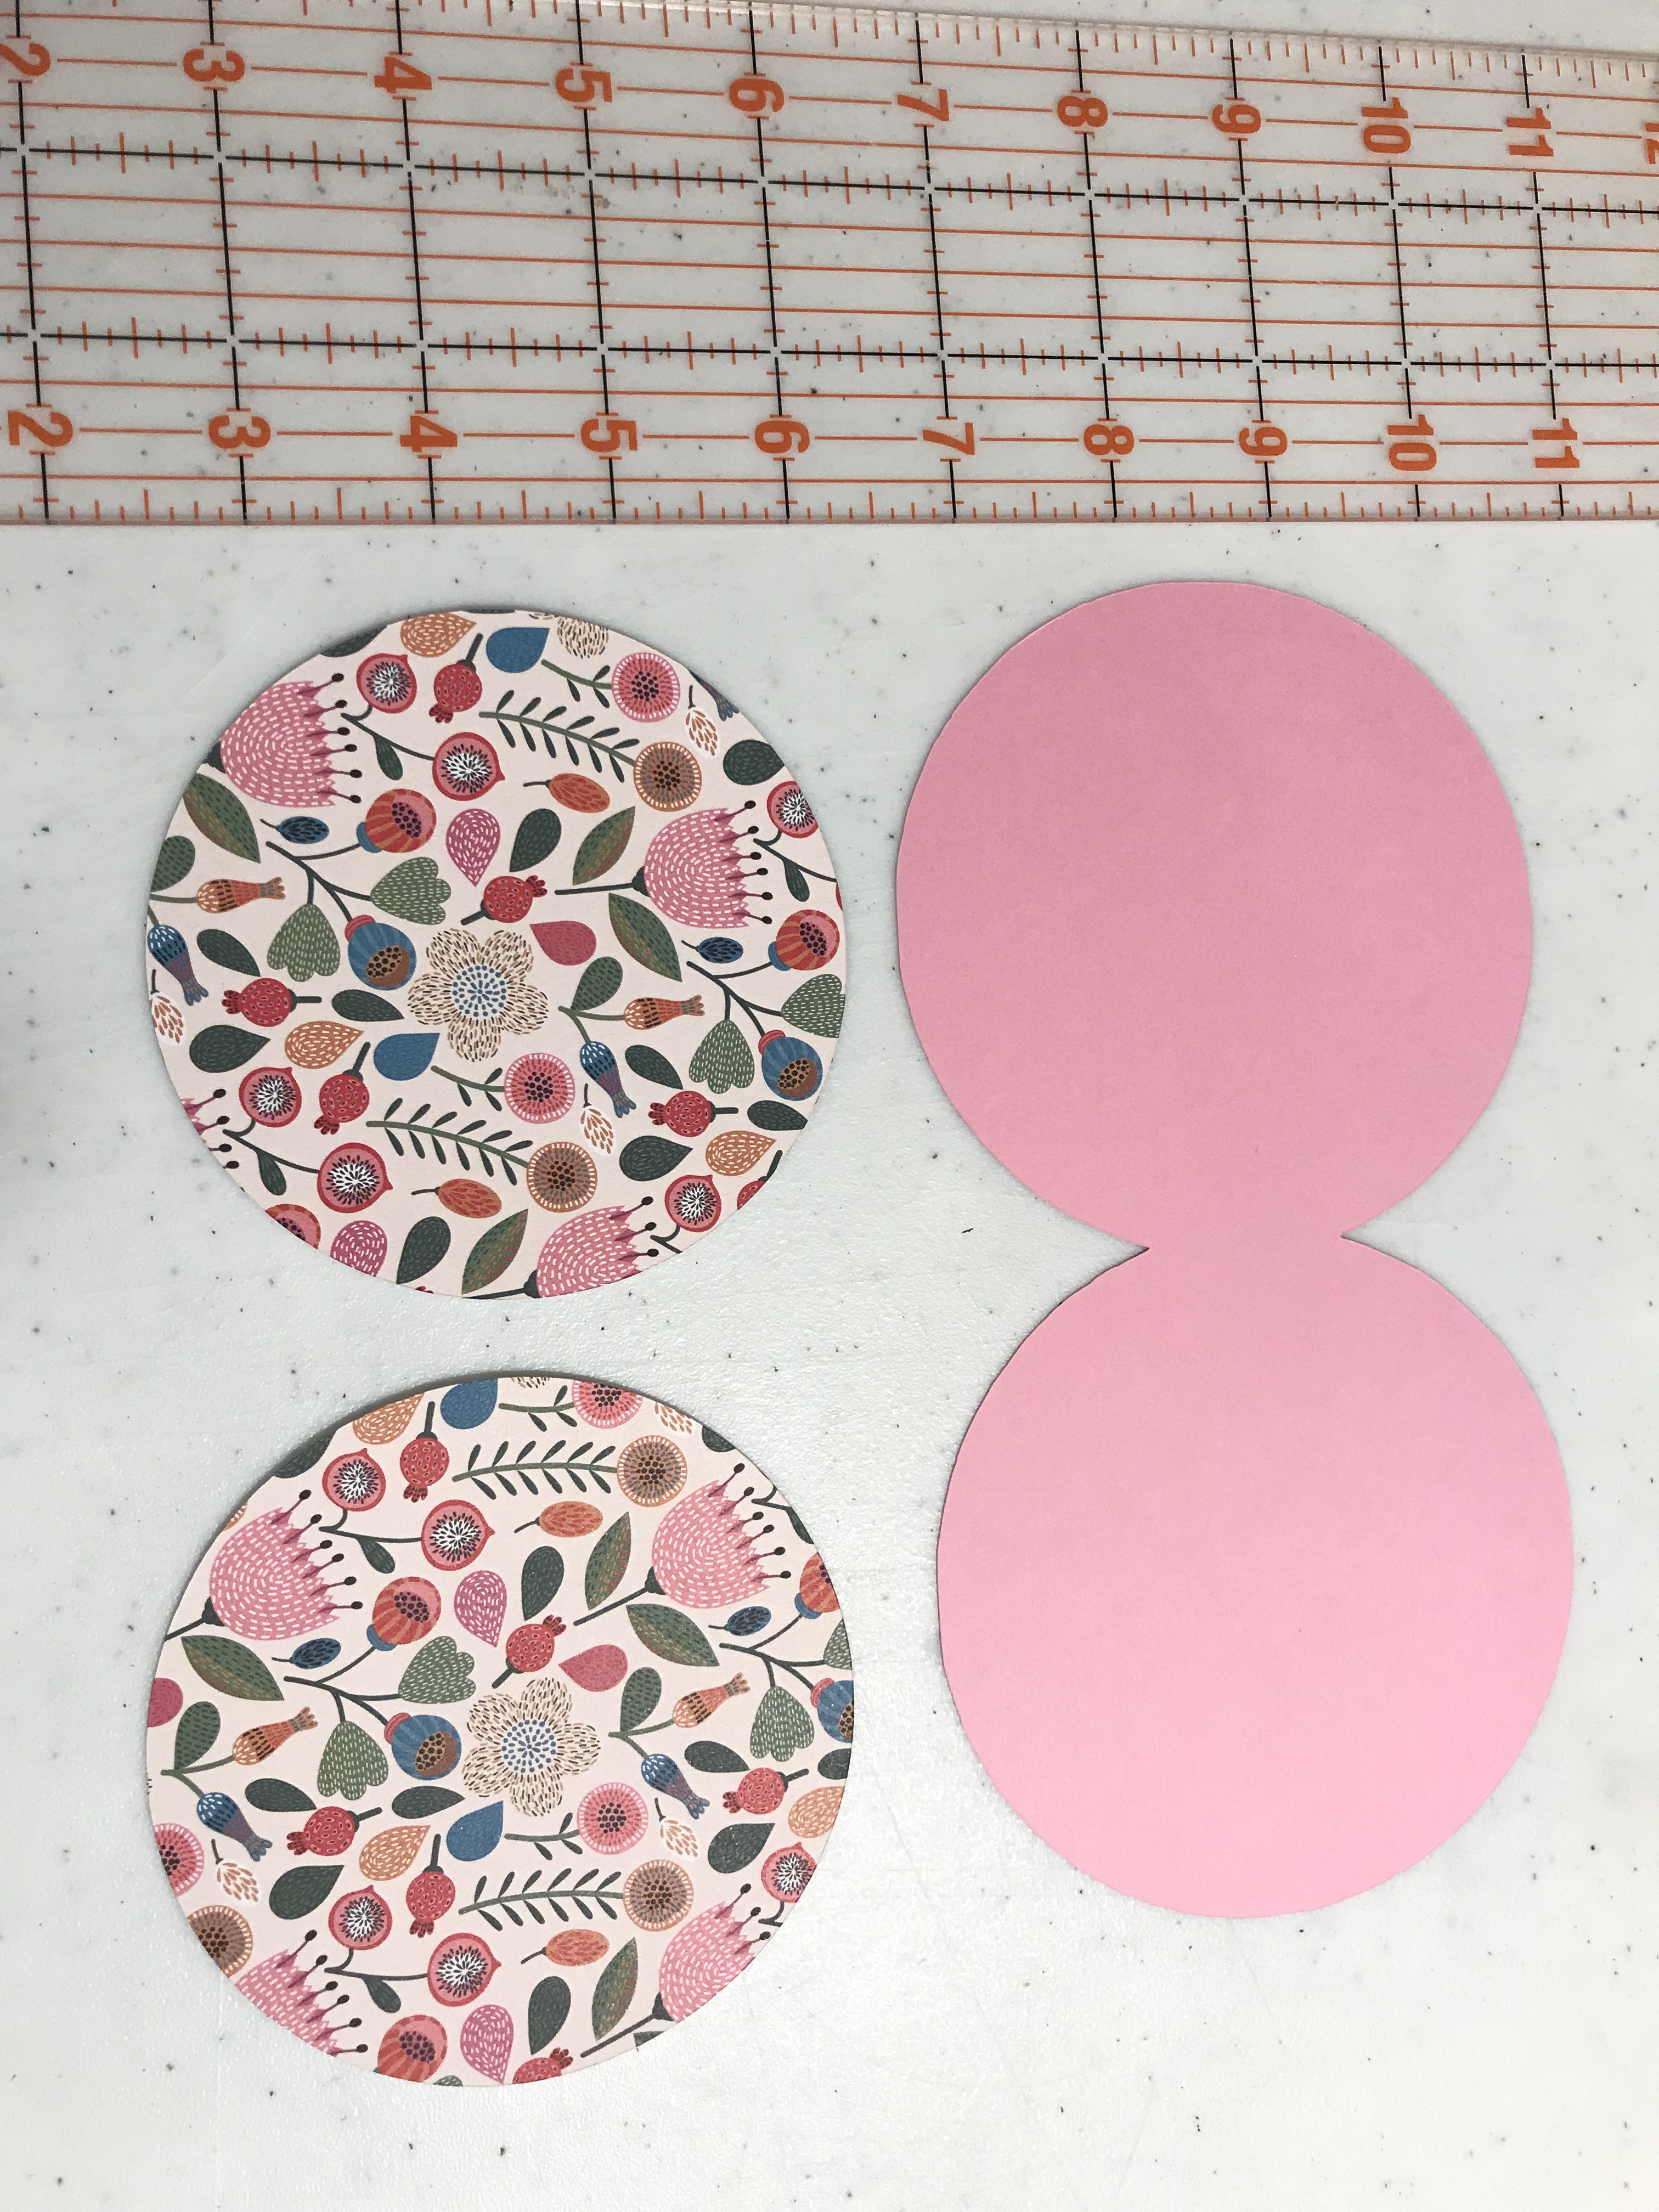
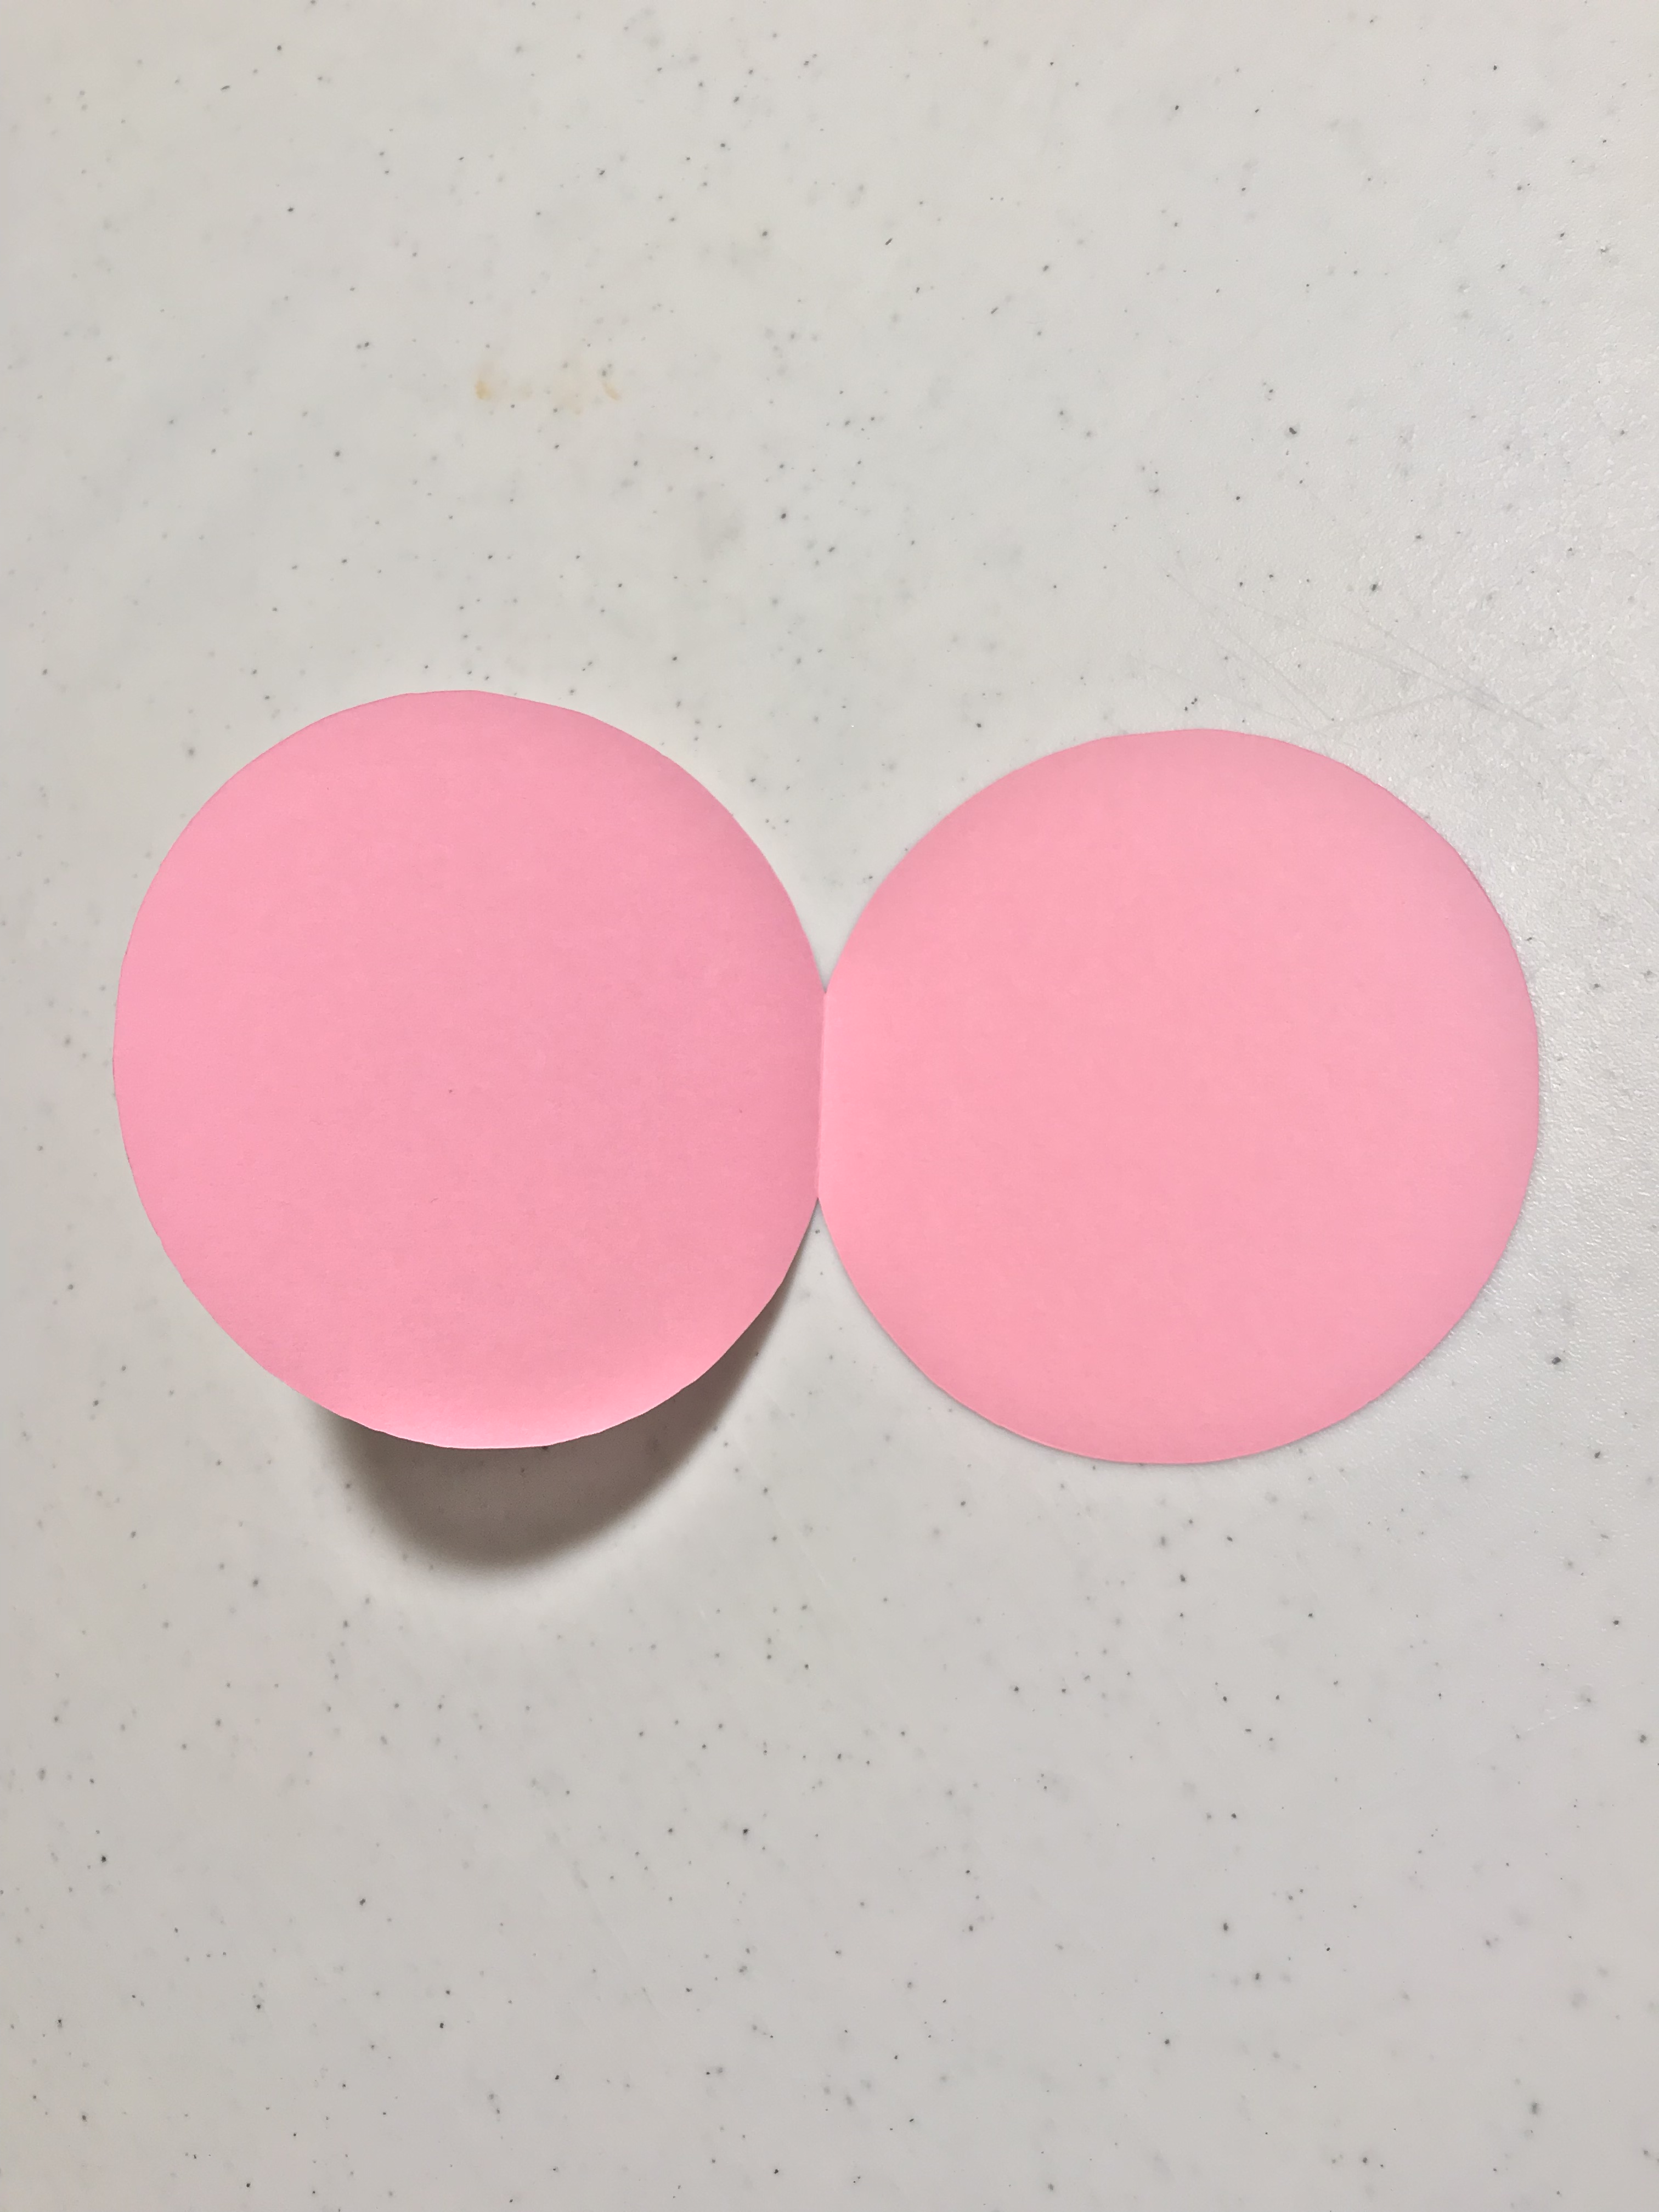
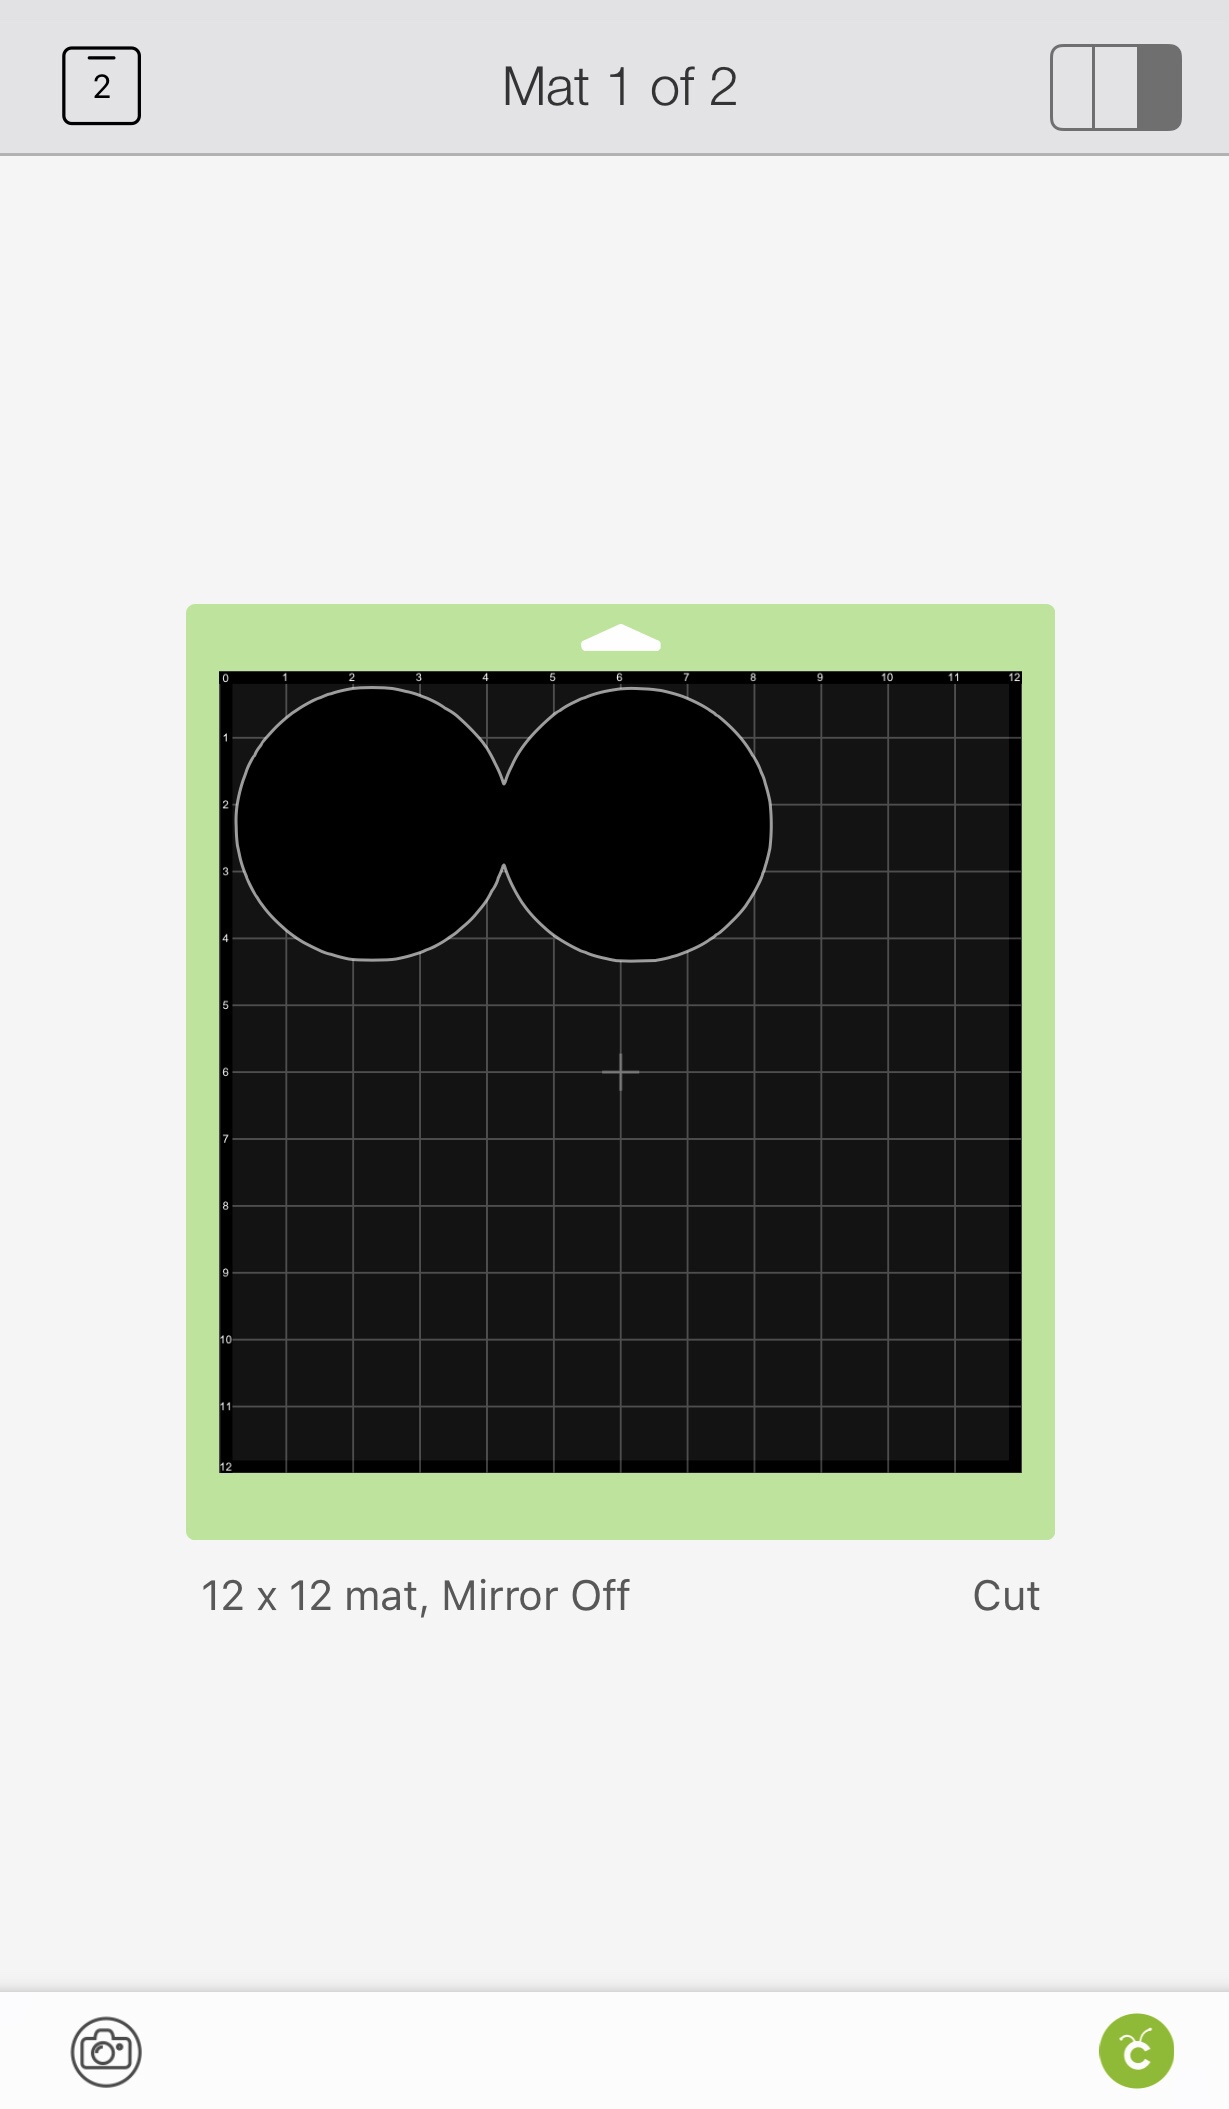
- Cut out card shape. Cut the large double circle from your white cardstock by tracing the pattern below or using your machine. Fold at the middle where the two circles are attached. Many patterns have a score line here for machines, but I do not have a scoring wheel, so I line up my circles and fold it myself. Use a straight edge to make a straight fold. Then you can use a firm edge (I use the handle of my scissors) to flatten the fold once you have it where you want it. This makes a neat crease. If you are using a cutting machine and have a scoring wheel, you can add a score line where you need it.
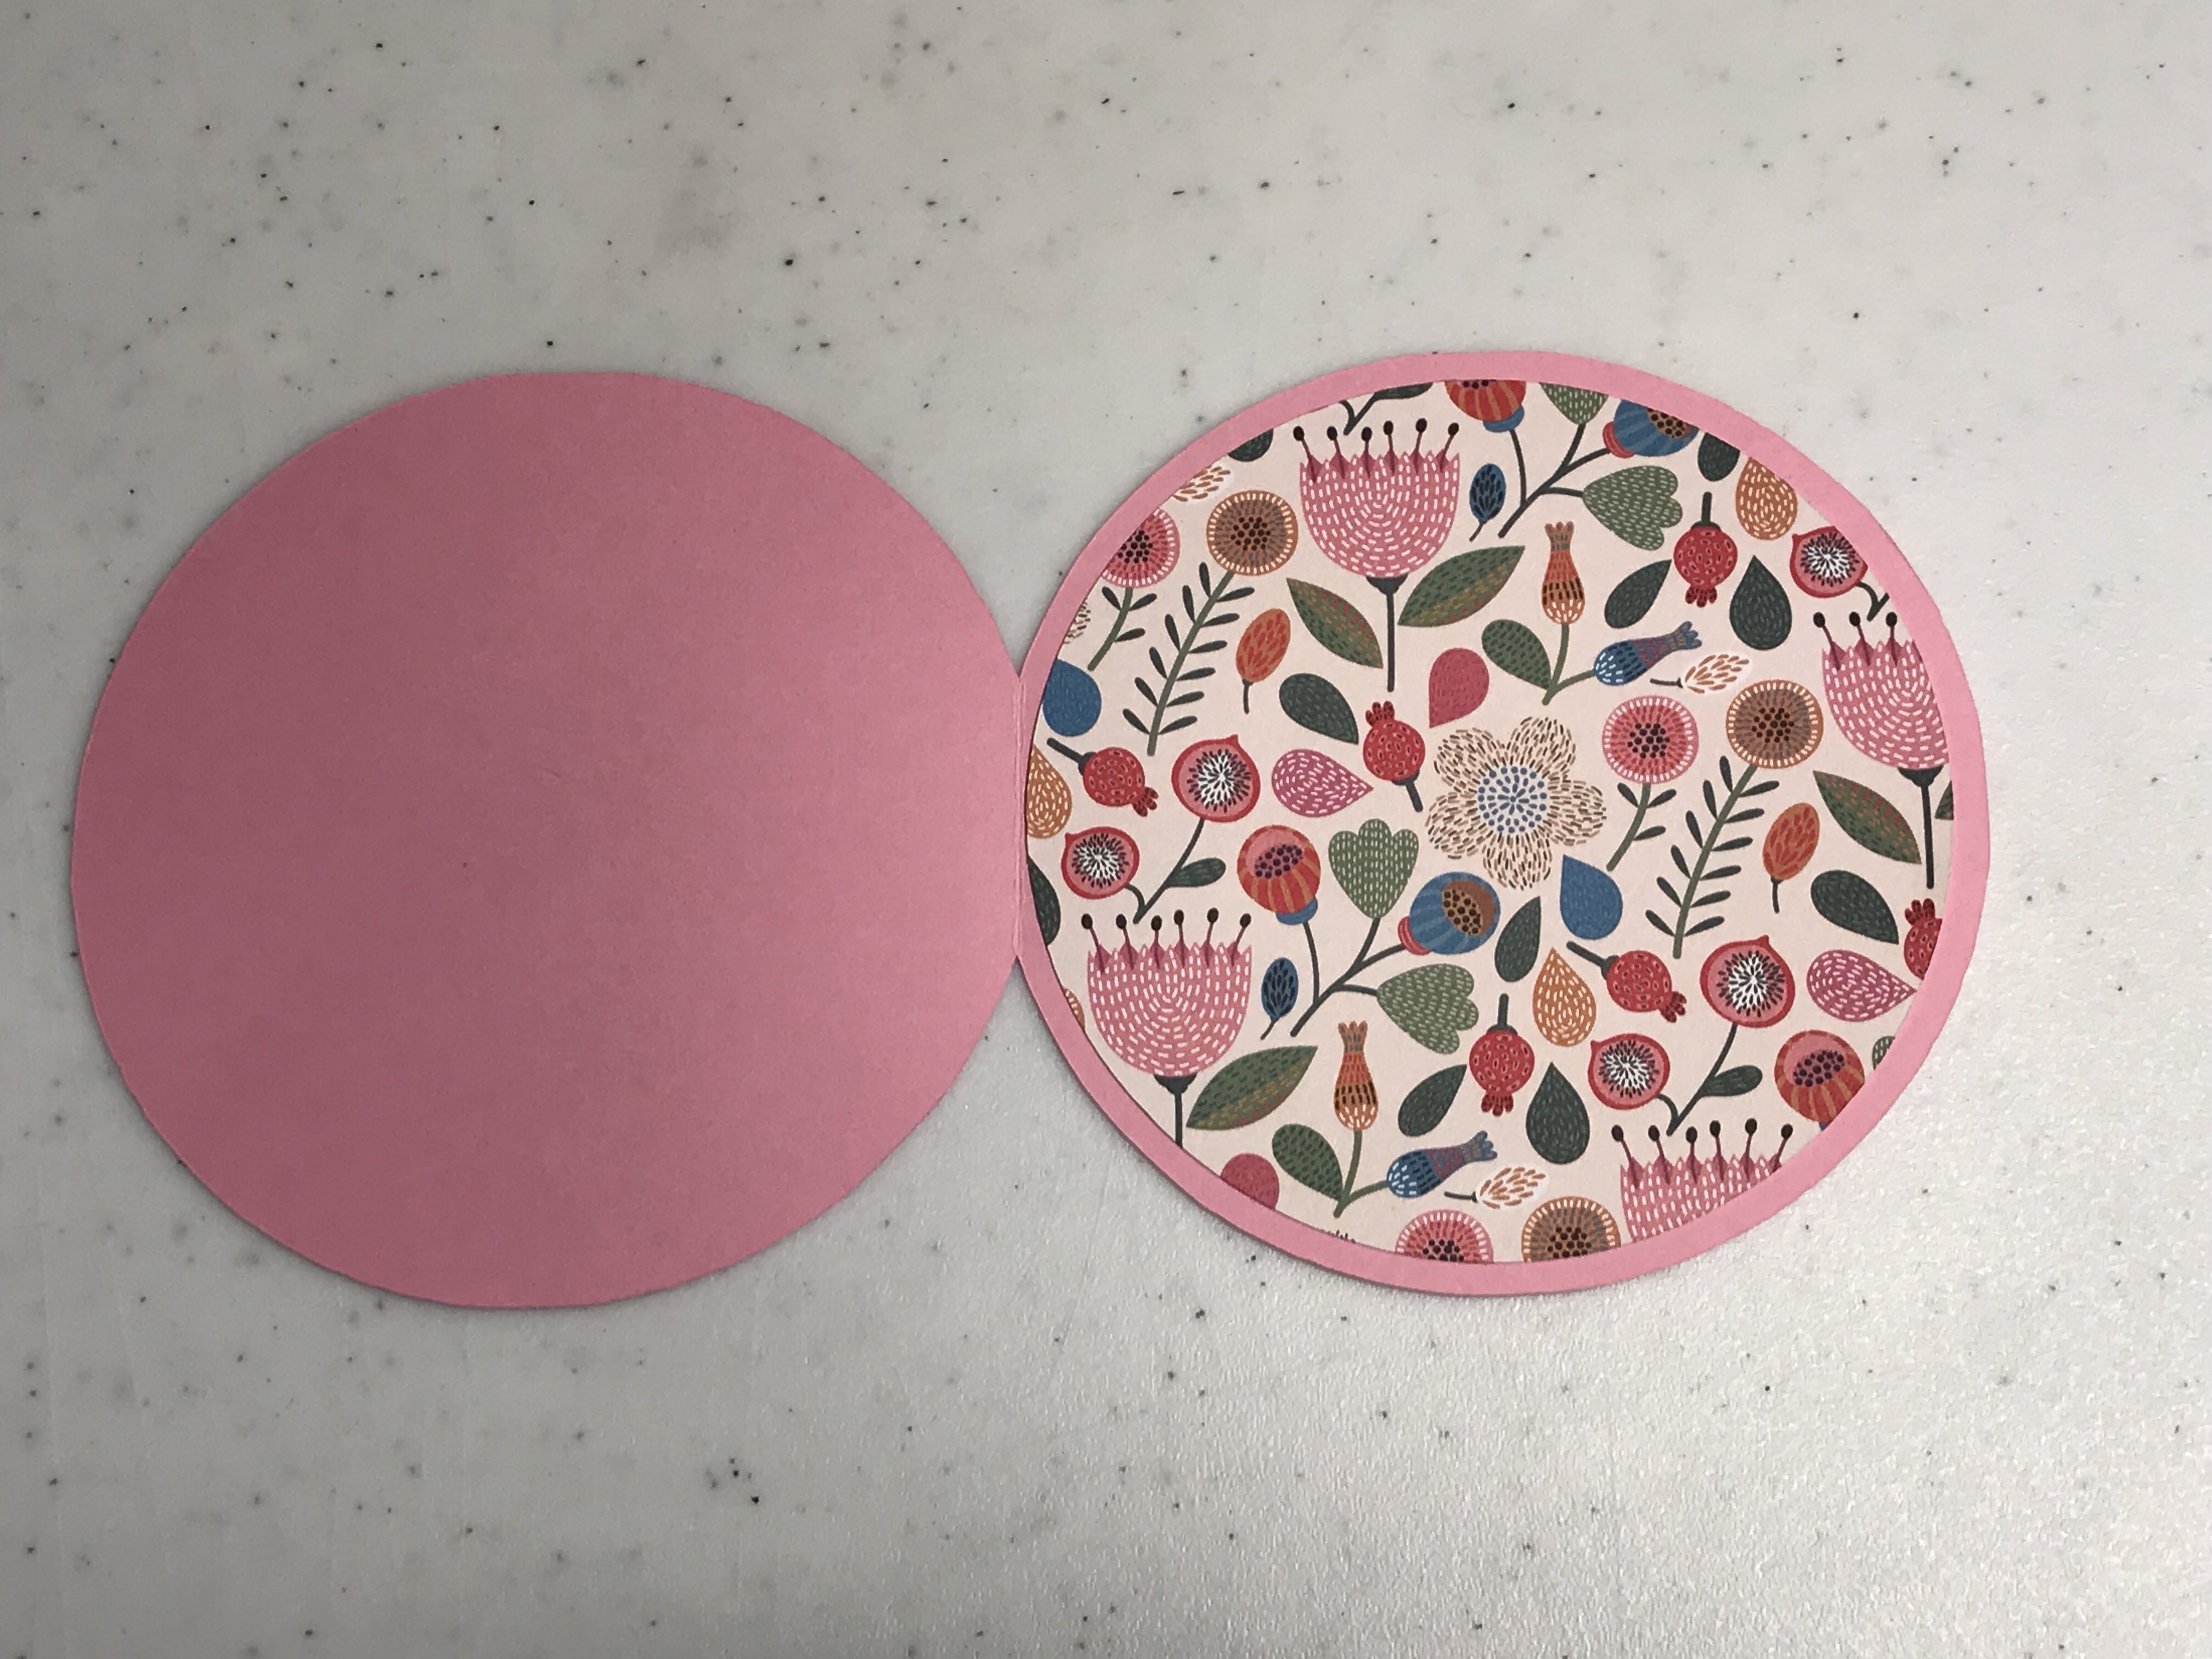
- Cut out decorative circles. Next cut the two individual smaller circles from your decorative paper. You will eventually adhere one to the front of your card, and the other to the inside of your card. Again, you can hand cut these, or use the uploaded pattern for your cutting machine.
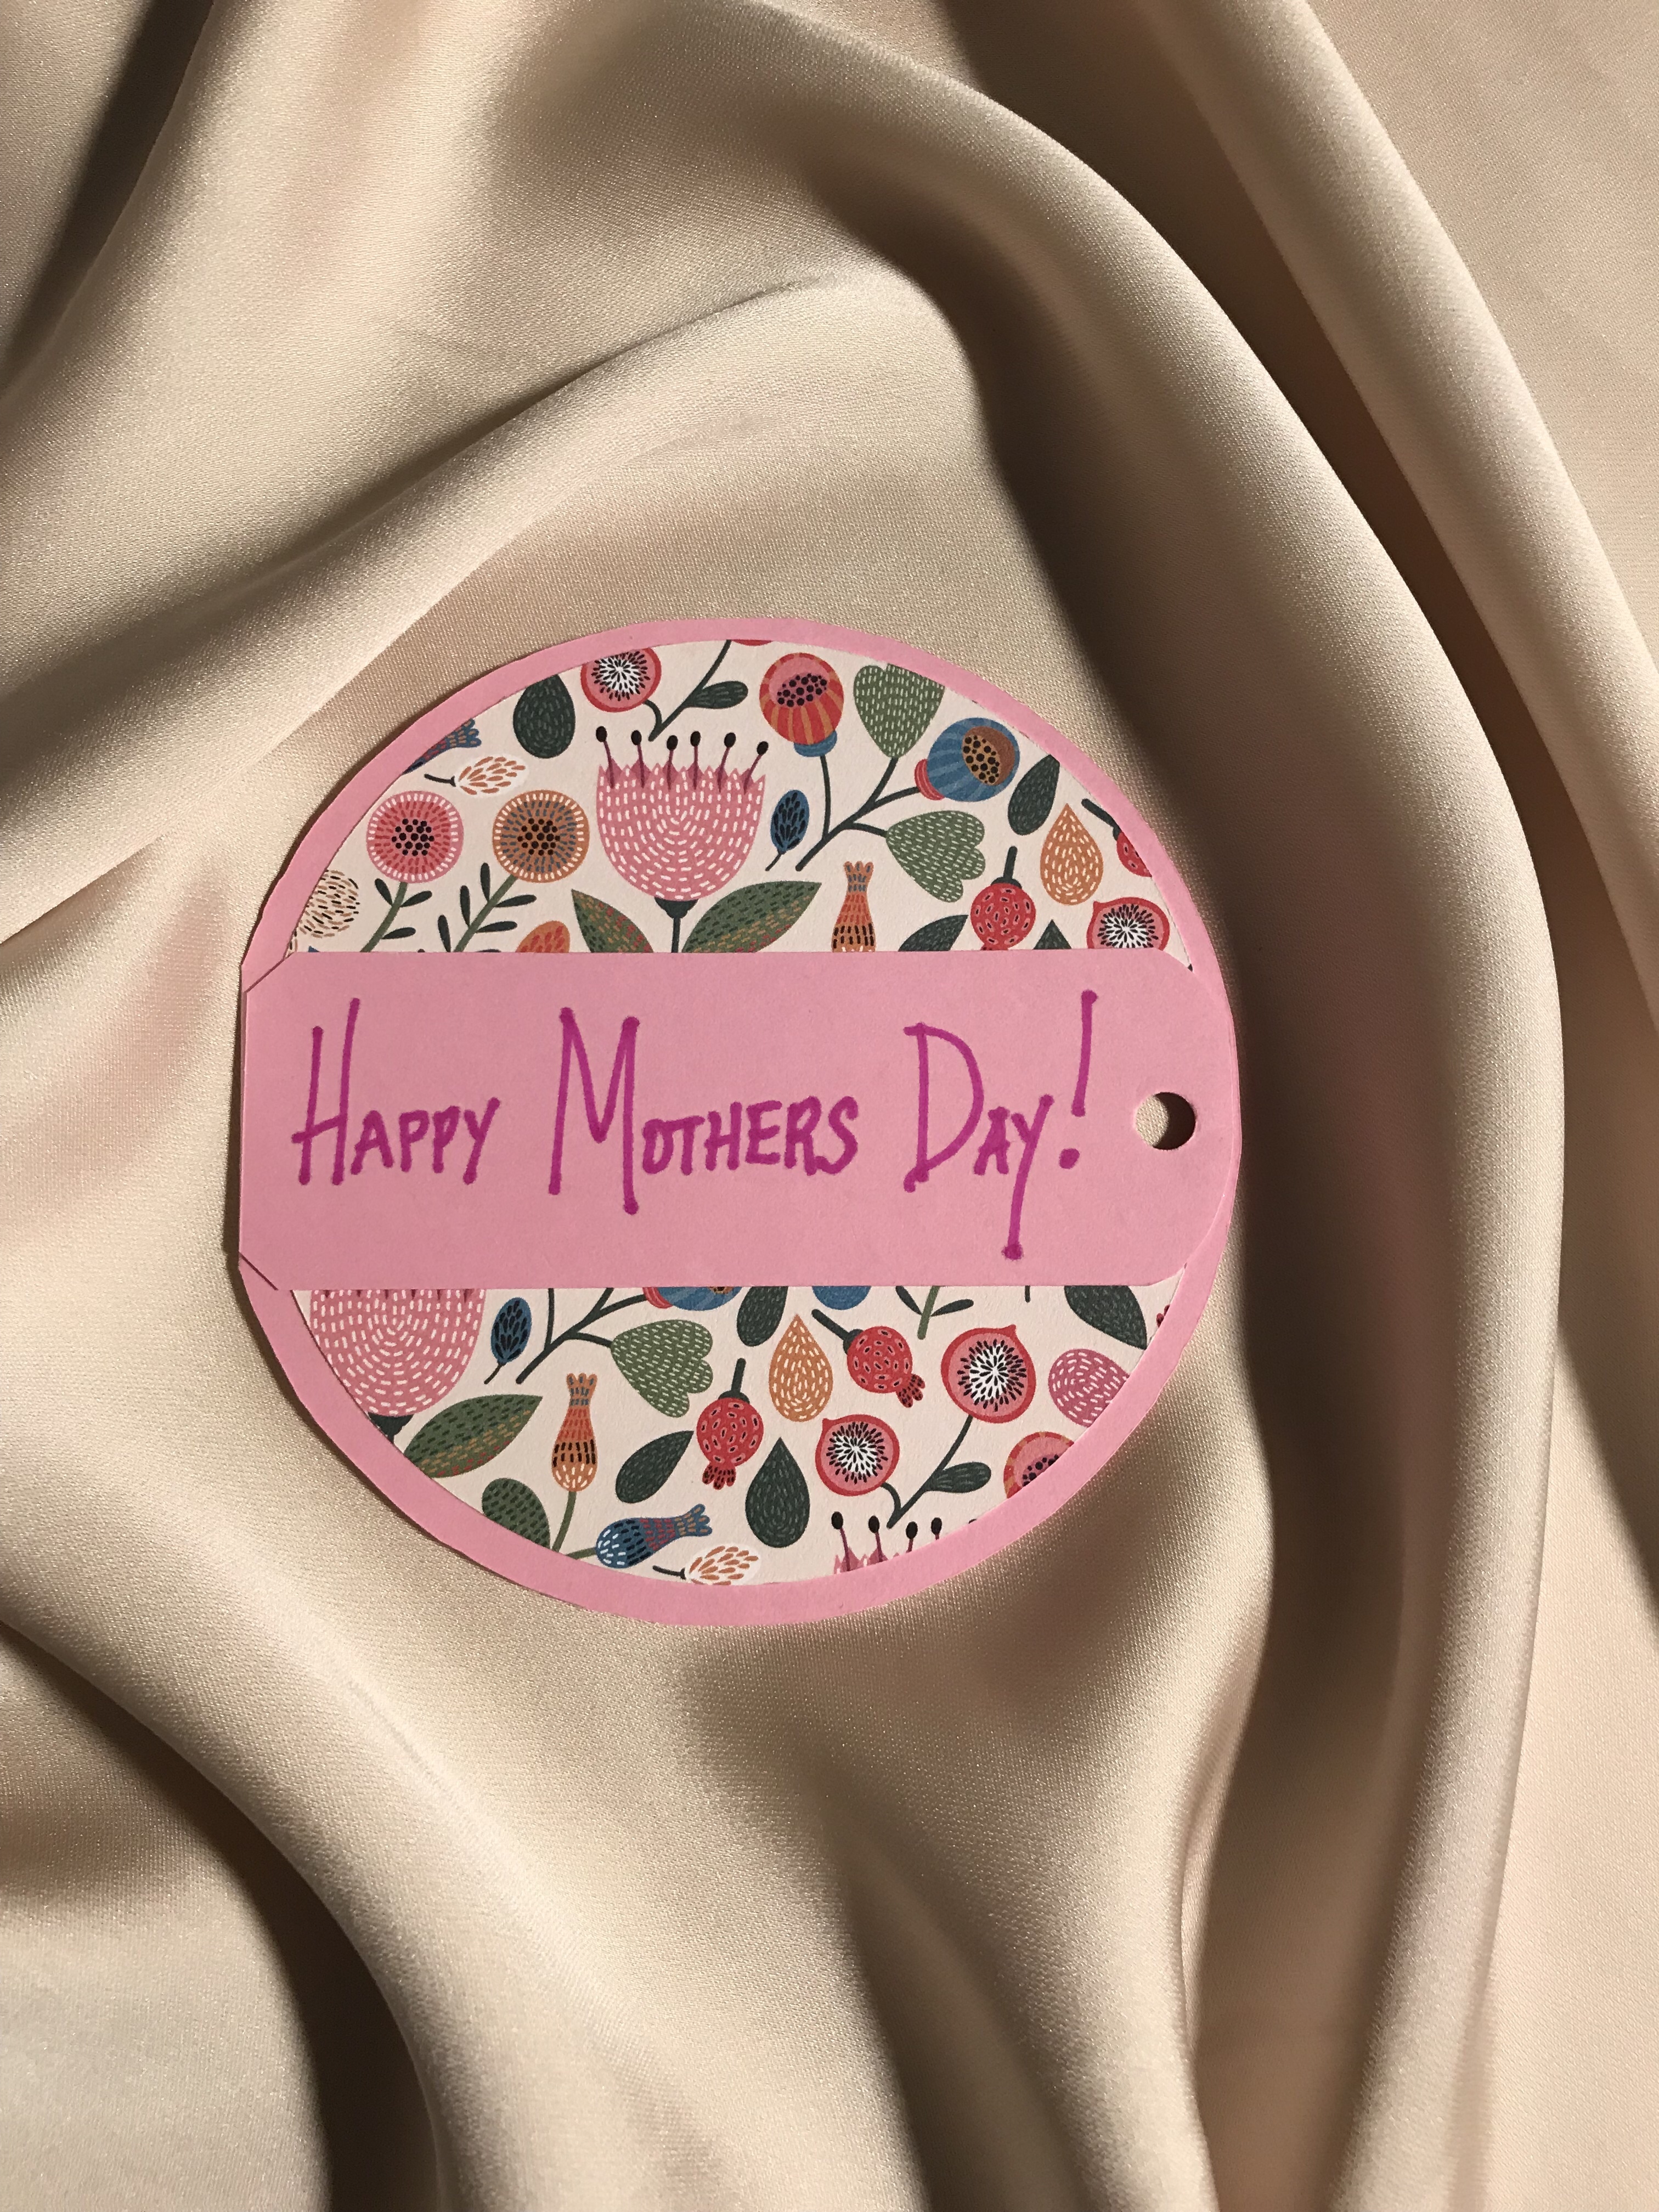
- Decorate your circles. You can hand-letter “Happy Mother’s Day” or any sentiment you wish on the front. (Sharpies work well for this). I suggest using a dark, contrasting color for the lettering. If you have design software and a machine, you can create text and place it on a banner (or a rectangle the length of your card which is roughly 4in) to print and cut. (If you are really savvy with your design machine, you can put your text directly on the uploaded circles, select print and cut, and have the machine print the text for you. But sometimes the words stand out better if they are on a new layer of paper such as a banner that has no pattern.) Don’t forget to center it.
- HINT: If you do NOT have design software, you can still use your own computer to type and print out enlarged text on plain paper, (or use some of your white cardstock), cut it out in the shape of a rectangle, and glue it across the center on the front of your card.
- HINT: Remember, you can also do the same for any sentiments you wish to put inside the card. Feel free to try a fancy font from your software program, or consider using dafont.com to download free fonts for your personal use. If you have never done this before and you are in a hurry, then I would try this later. This is also the time to consider adding any other décor to the front decorative circle of your card, such as ribbon, buttons, glitter, beads, or other 3-D paper shapes such as quilled flowers or birds.
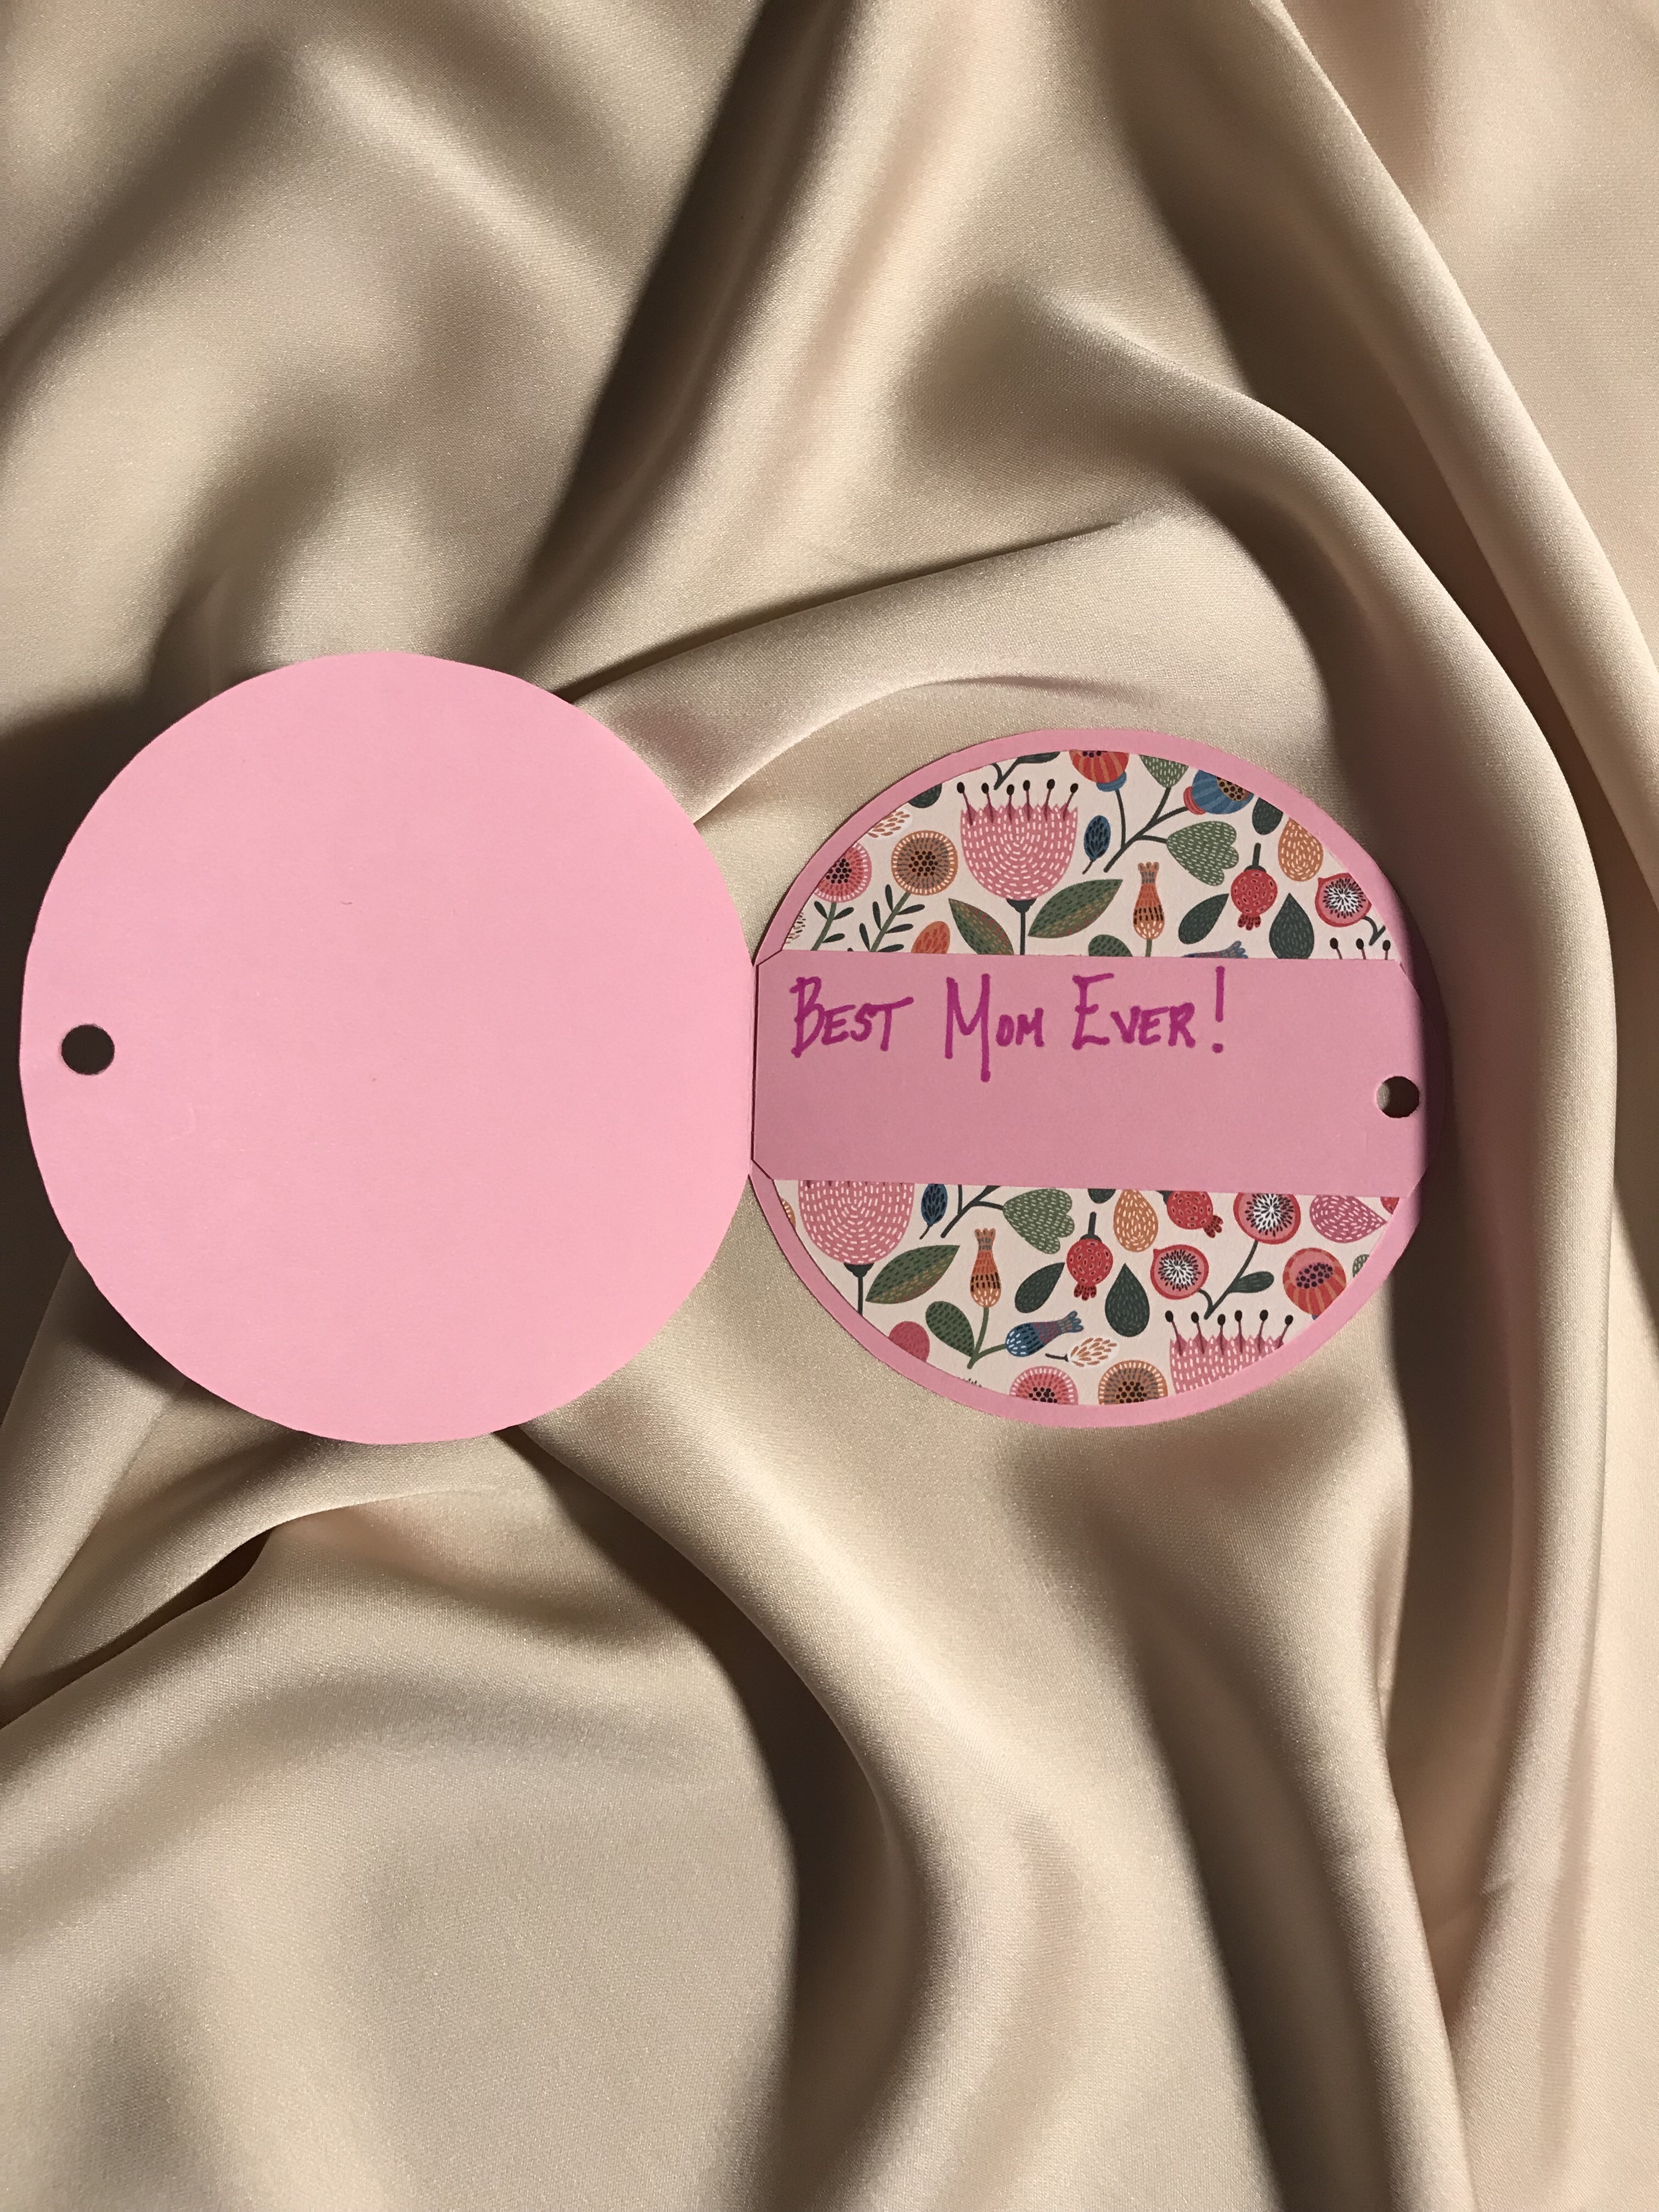
- Assemble your card. First, go ahead and form your fold/crease of the body of the card if you haven’t done so already. Then take the decorated circle for the front and glue the banner with text to the decorative smaller circle with a glue stick. (Liquid glue will leave waves and irregularities under your paper.)Then using the glue stick, apply that circle to the front of the card. Make sure your fold is on the left side of your card. Then glue any decorative or text banners to the inner circle. Last, using the glue stick, adhere that circle to the inside of the card on the RIGHT HALF in the center of the circle.
- Embellish your card. If there is room, consider using a hole punch on the right side of the card, placing a hole that goes through both the card and the decorative circles (but avoiding lettering or décor). Make sure all glue is completely dry before placing the hole. Thread a pretty, thin organza ribbon or shiny satin through and tie with a nice bow on the front side of the card. This is a nice way to close a card, especially if you do not have an envelope. You can also hot glue a small magnet onto the back of the card so your Mom can put this on the refrigerator to show off her handmade Mother’s Day card!


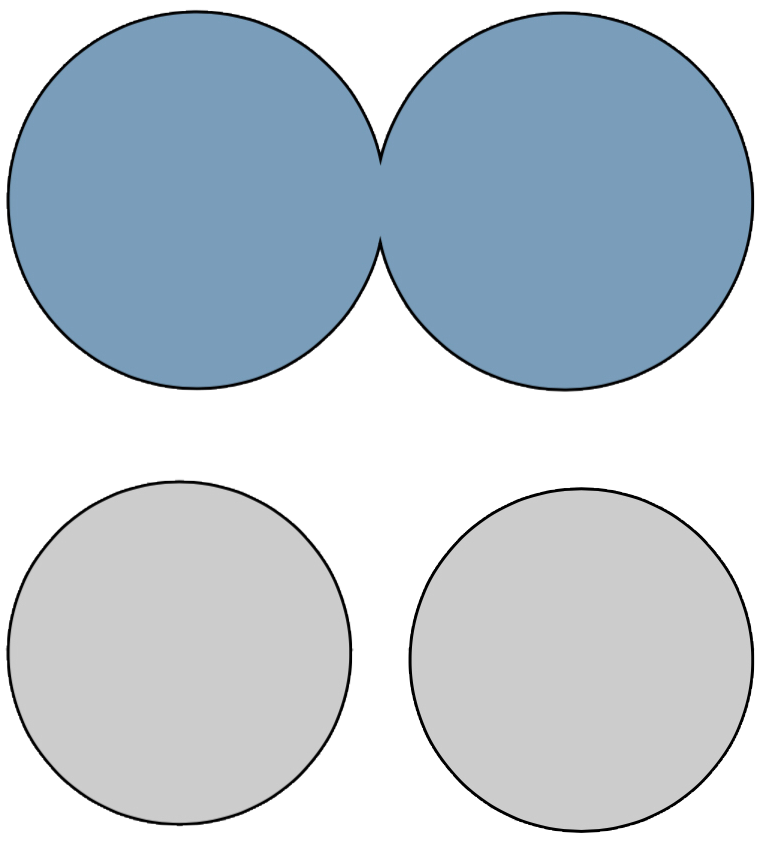
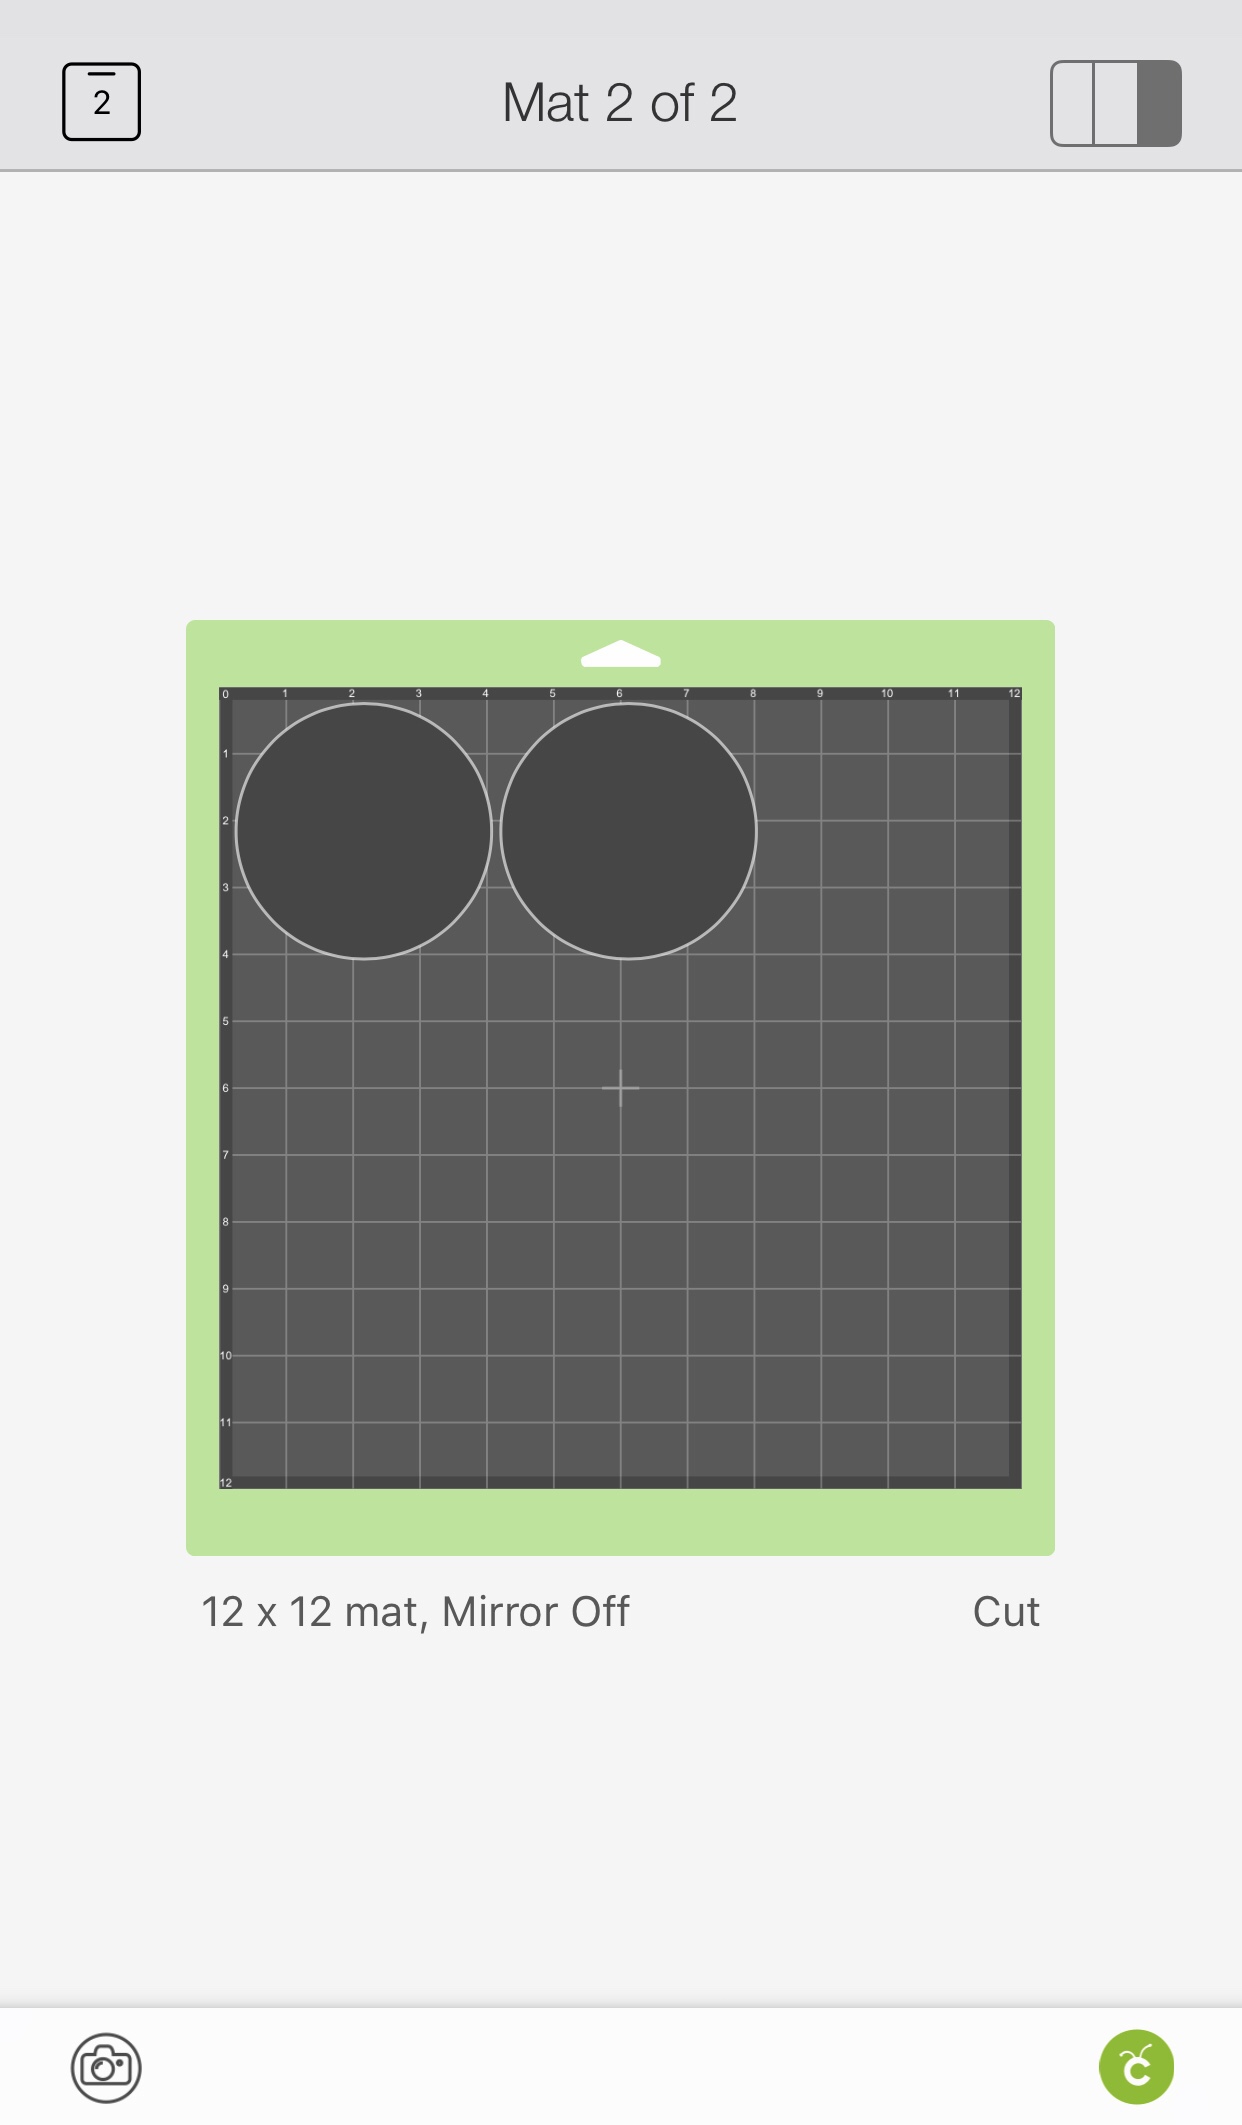
FREE PATTERN IMAGES:
The shapes below are different colors, and there are two of the decorative circle pattern pieces. This will make it easier to use two different types/colors/patterns of paper if you are using a cutting machine.
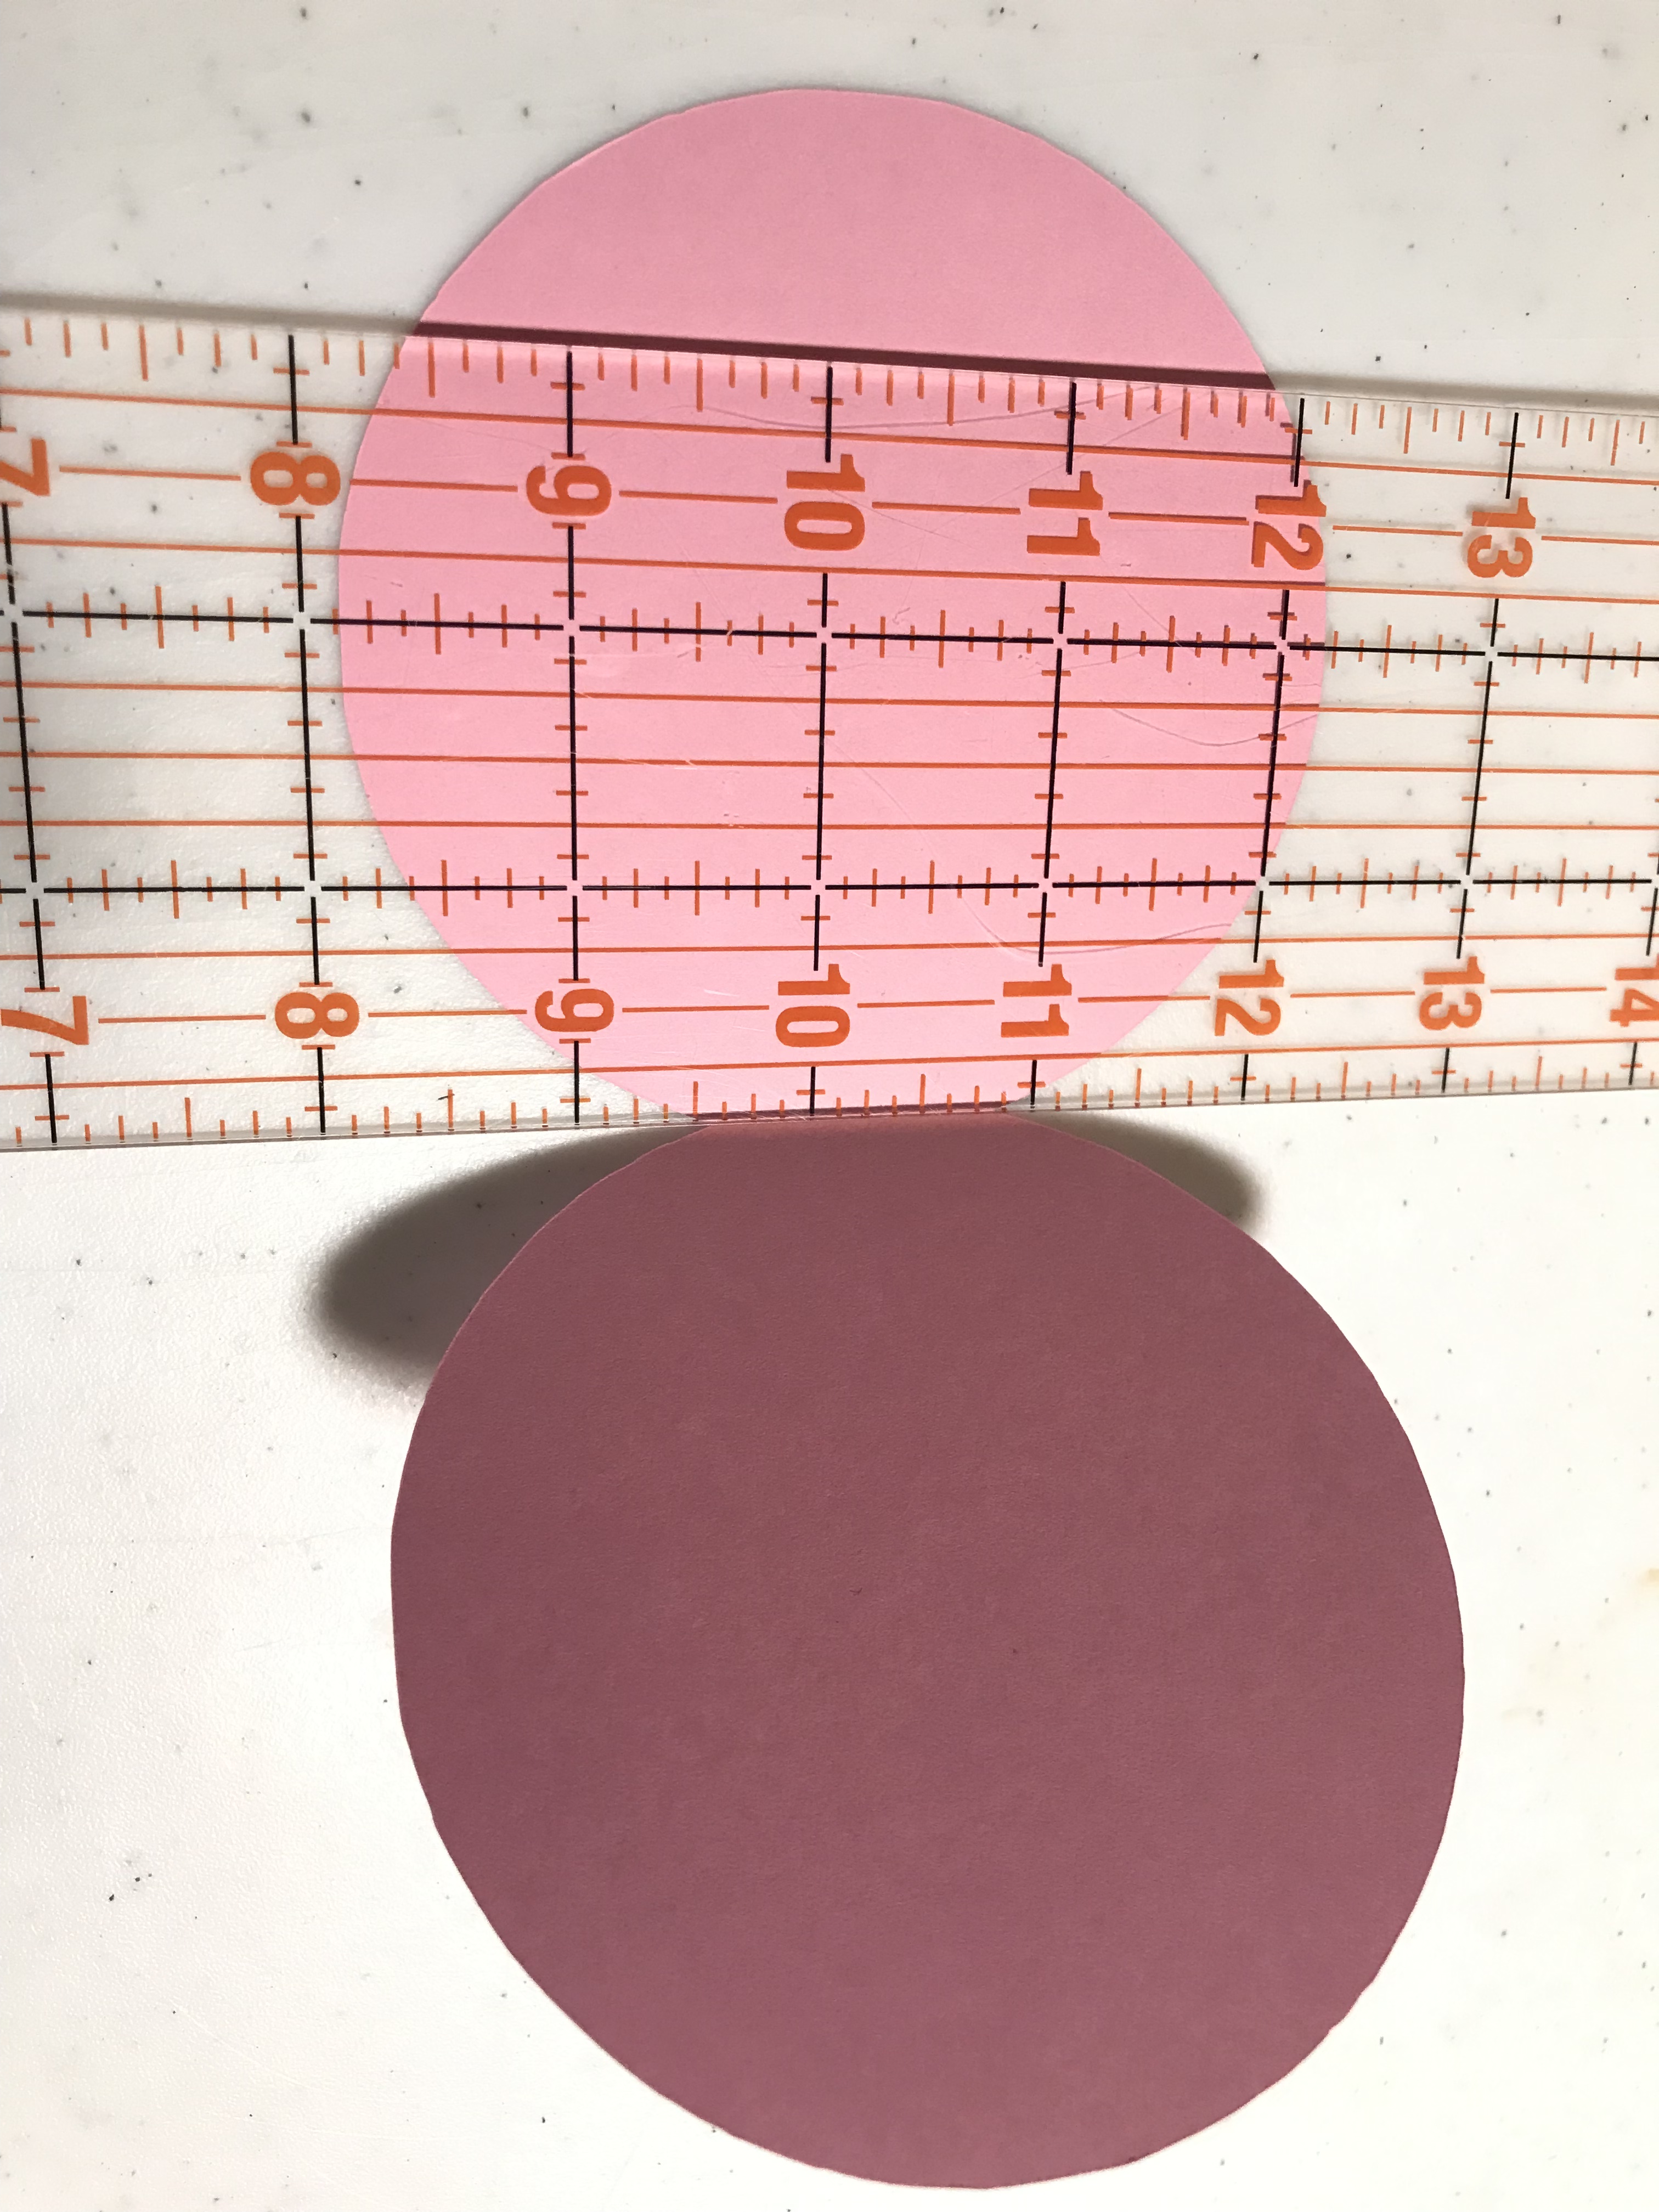
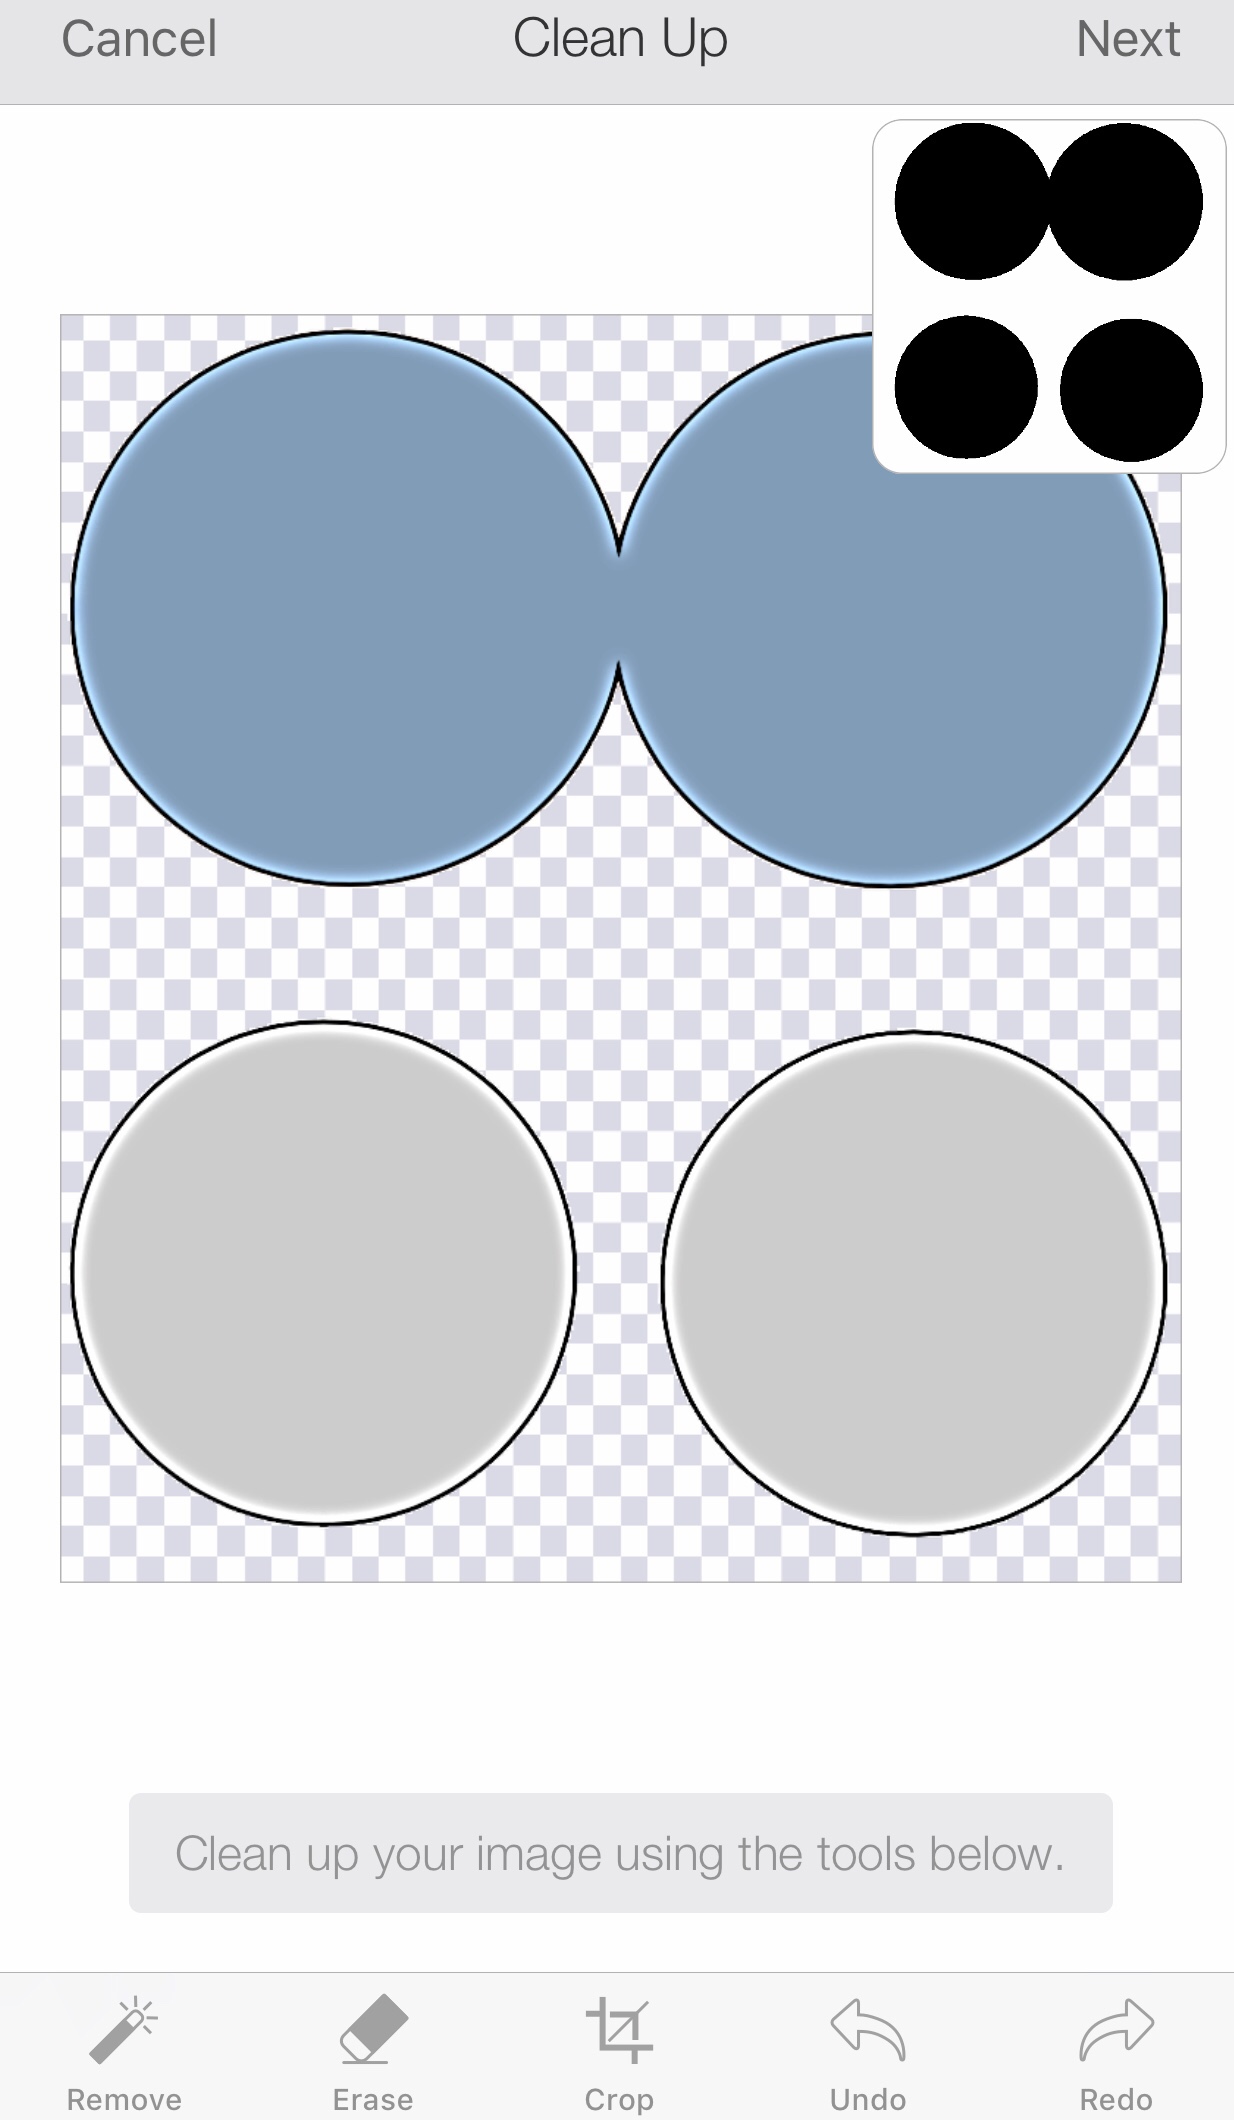
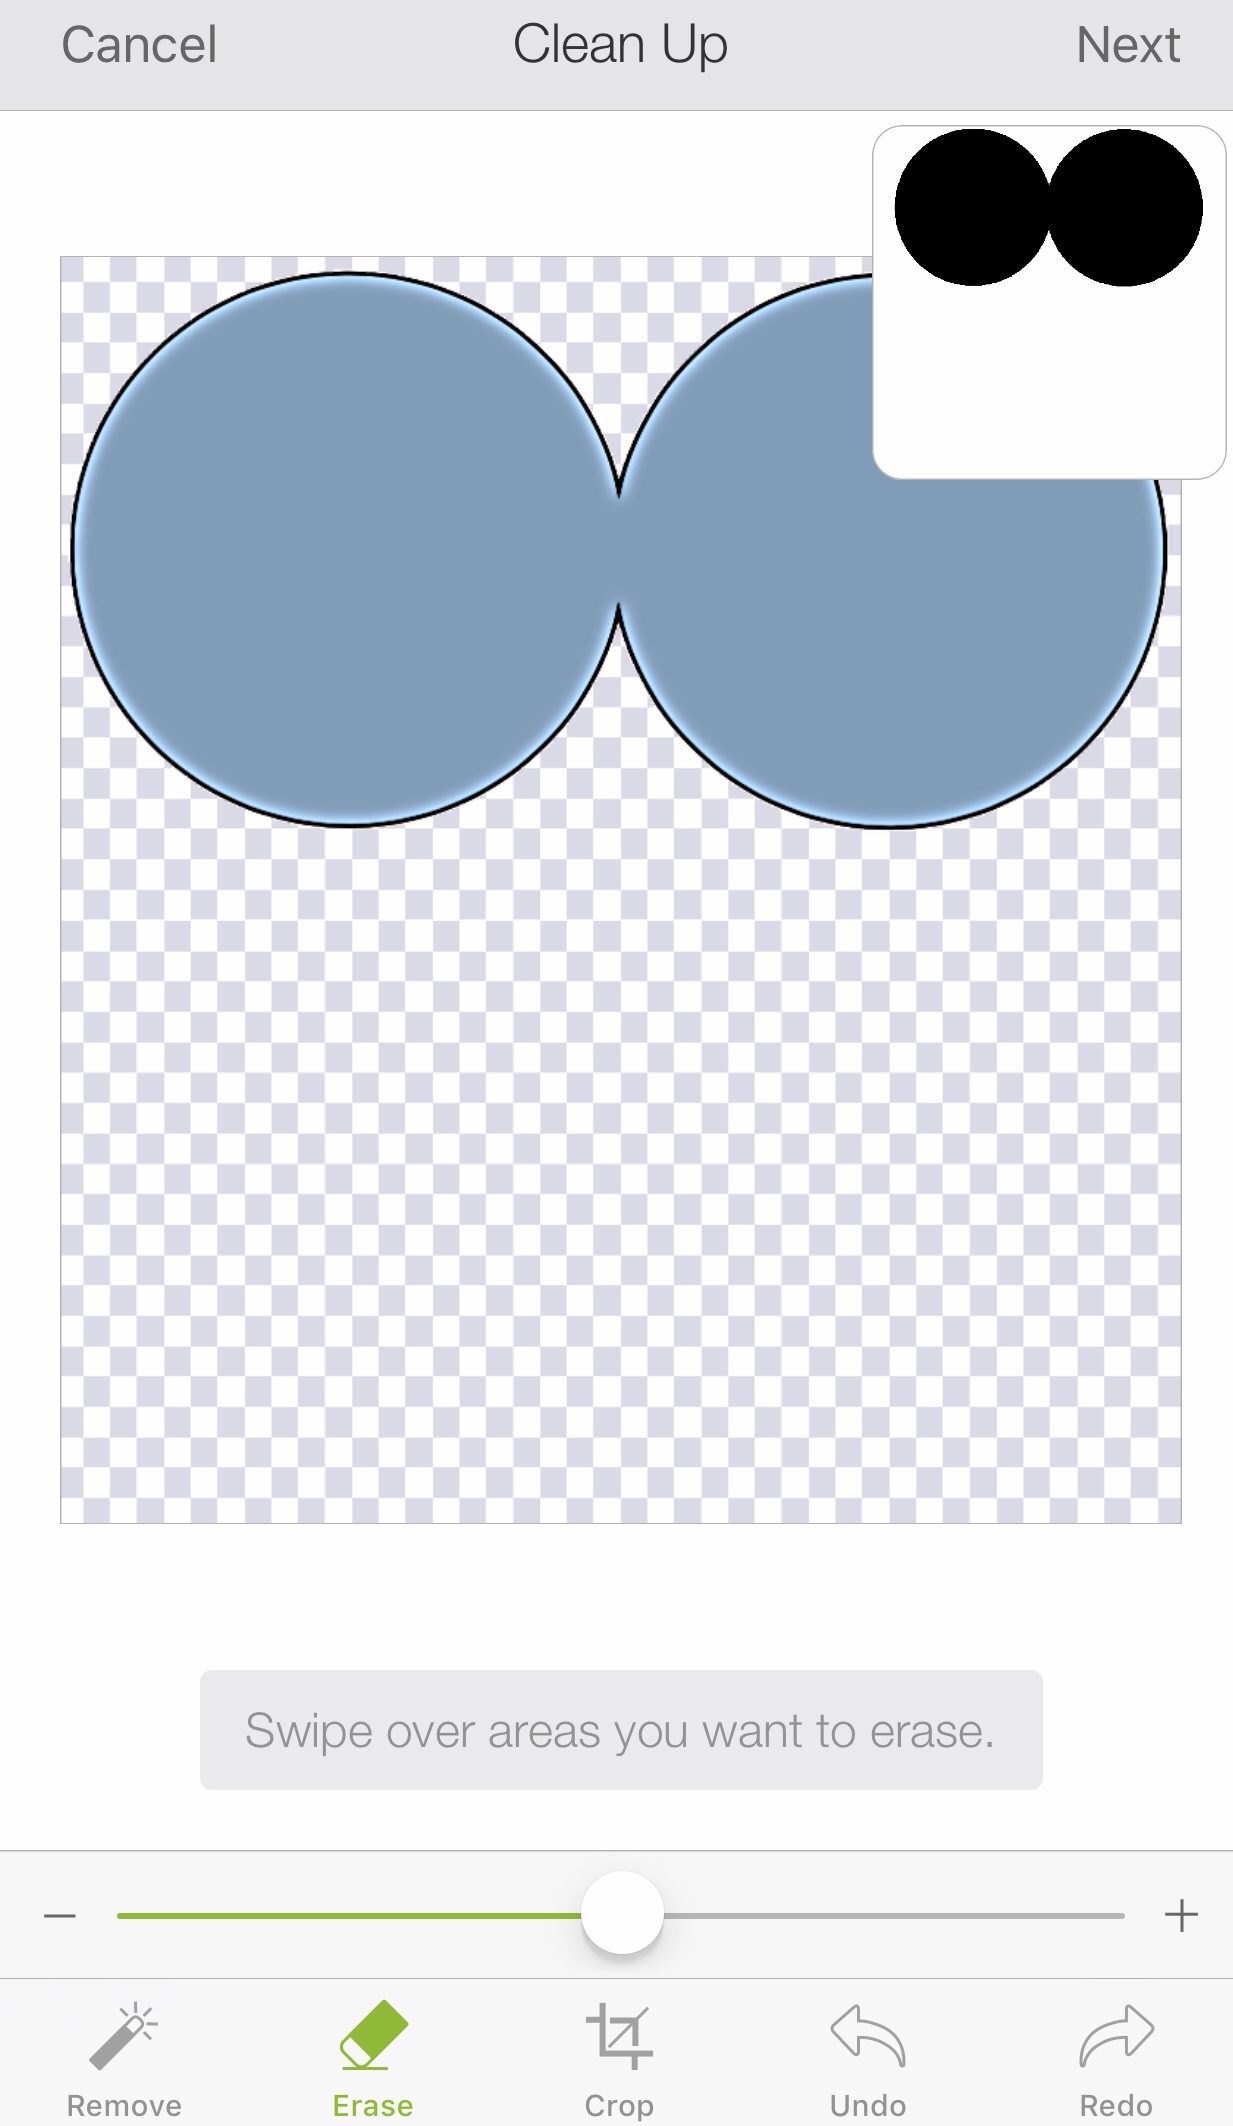
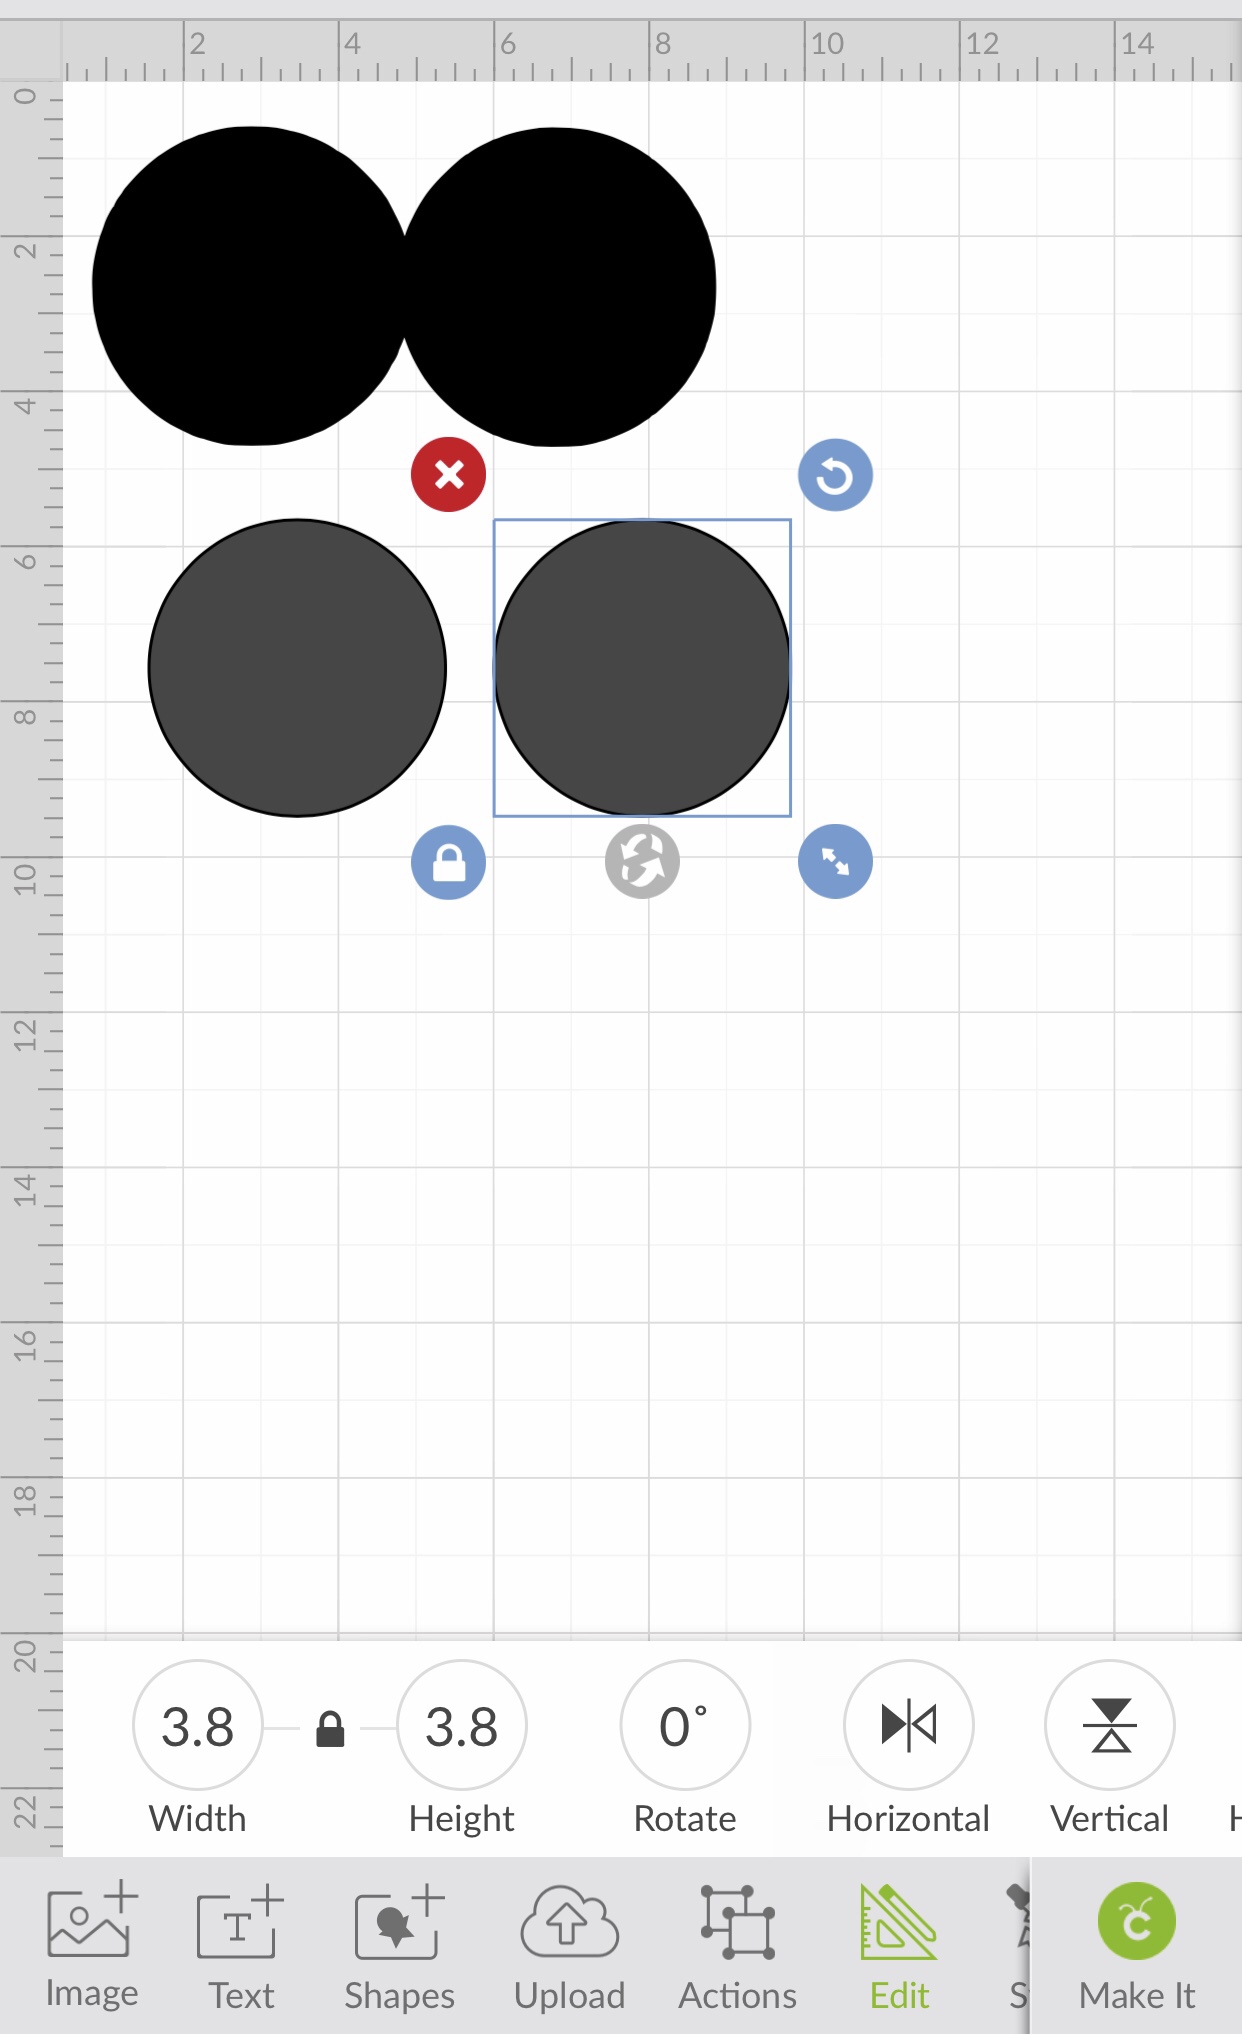
HINT: If you are using a cutting machine, you should upload the pattern twice. It will be easiest if you upload selecting only the blue pattern first (erase the other circles), then upload the same file again selecting the one circle next (erase the blue body of the card). Then duplicate that circle so you can move them independently. You will select the blue shape for the body of the card, and the grey circles are the decorative circles. If you upload as two separate files, then you will have two separate images/layers. You can easily cut each part separately on your machine for two separate paper choices/two mats in your project. However, make sure you group them together if you need to change the size so the scale for each part will match. My favorite size for this card is 4in x 4in when it is folded, so the length of the body of the card is roughly 8in long.

HINT: If you are not using a cutting machine, then you will only need to cut out one of the decorative circles as your pattern piece and use it to trace and cut two circles from the decorative paper that will be the same size.
